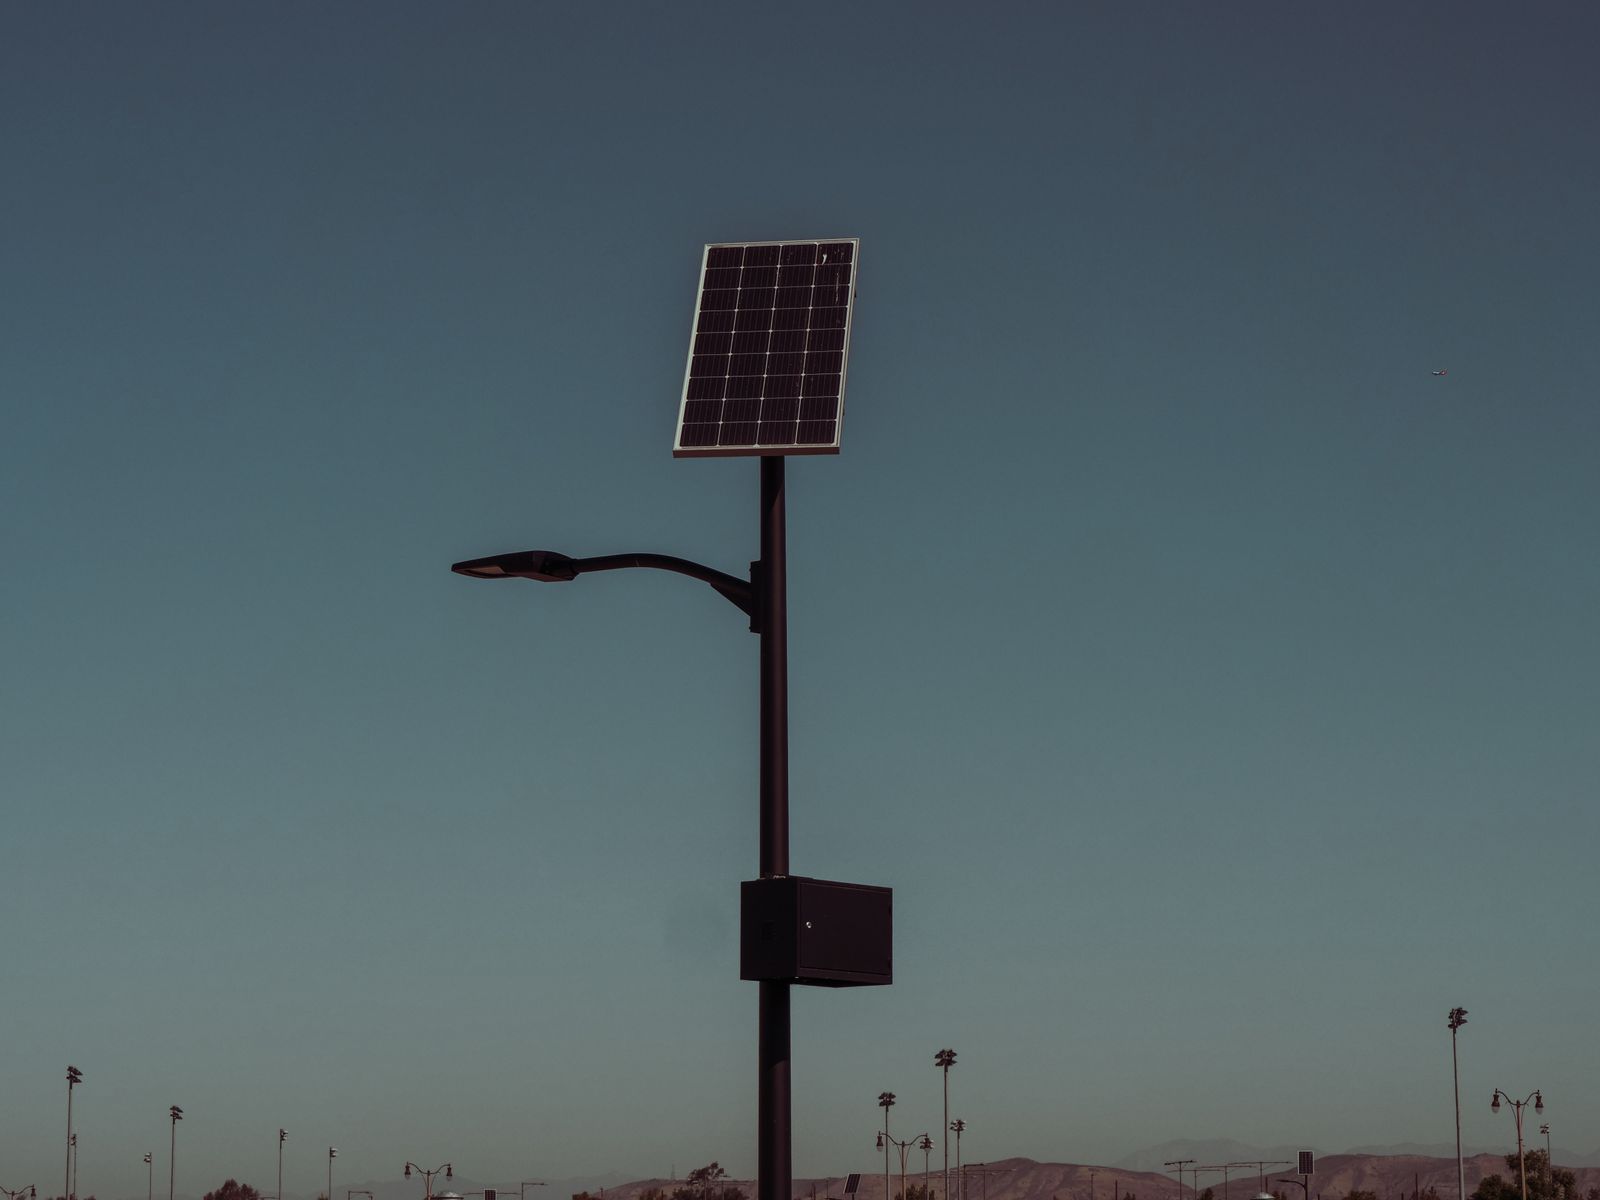
Fix Solar Light Placement in Shady Areas: Low-Light Troubleshooting Guide
Are your solar wall lights dying early or failing to illuminate in covered porch or tree-shaded areas?
Decision Answer: You can restore full overnight performance without rewiring by switching your fixture to Mode 1 (19FT Motion Sensor Mode), cleaning organic film off the poly-silicon panel, and lowering or angling the mounting bracket past roof eaves to maximize exposure to diffuse ambient daylight.
Low-Light Solar Diagnostic Flowchart
- Is the solar wall light turning on at night? → Yes: Check runtime duration: Dies in <2 hours or Stays on all night?. No: Check power switch state, dusk-to-dawn sensor exposure, and panel shading..
- Does the fixture die after less than 2 hours of illumination? → Yes: Switch from Continuous Mode to Mode 1 (19FT Motion Sensor Mode) to reduce battery drain from 2200mAh draw.. No: Clean poly-silicon panel with damp microfiber to clear tree sap and pollen buildup..
- Is the light suppressed by ambient streetlights or nearby porch lamps? → Yes: Re-angle the fixture light sensor away from direct artificial glare.. No: Relocate panel 6–12 inches lower on the wall to clear roof eave overhang shadows..
Low-Light Failure Modes vs. Corrective Actions
Photo by takenbytablo on Pexels
| Failure Symptom | Root Cause in Shade | Immediate Fix | Expected Runtime Impact |
| --- | --- | --- | --- |
| Fixture dies after 1 to 2 hours of operation | High battery draw in continuous lighting mode combined with low daytime solar charge under eaves | Toggle switch to Mode 1 (19FT Motion Sensor Mode) | Extends nighttime availability from ~2 hours to 8-10 hours |
| Light flickers rapidly or glows dimly at dusk | 3.7V/2200mAh battery voltage drops below threshold due to obstructed poly-silicon panel | Wipe panel surface with mild soap and microfiber; remove overhanging twigs | Restores steady illumination and proper voltage regulation |
| Light never turns on, even after a clear daylight period | Nearby porch lamp or streetlight shining onto dusk-to-dawn ambient sensor | Shield or re-orient sensor away from artificial light sources | Enables automatic dusk activation |
| Motion sensor fails to trigger light in shade zone | Thermal contrast reduced or panel lacks minimal operational charge | Clean PIR sensor lens and allow 8 hours of daylight charging in Mode 1 | Restores full 19FT induction detection distance |
Match your solar wall light failure symptom to the root cause in shaded environments and implement the recommended physical or setting adjustment.
Recommended Setting Adjustment for Low-Light Locations
If your mounting position receives less than 4 hours of direct sunlight per day, continuous full-brightness mode will deplete your battery before midnight. Switching to Mode 1 (Motion Sensor Mode) isolates energy use to active motion events within a 19FT induction range, allowing the internal 3.7V/2200mAh battery to preserve charge throughout dark hours.
Ready to solve your dark entryway issues? Upgrade your shaded porch or garage wall with the high-efficiency 4 Pack Solar Powered Porch Lights featuring 3 adaptive lighting modes and IP65 waterproof housing.
Pro Tip: Leveraging Poly-Silicon Panels in Diffuse Sunlight
High-efficiency poly-silicon solar panels do not require scorching, direct sunshine to generate electrical current. They are designed to collect photons from diffuse daylight scattered through light cloud cover and thin leaf canopies. However, micro-obstructions like pollen, tree sap, and roof overhang shadows severely compound low-light efficiency losses.
Positioning your solar panel just 6 inches below a deep roof eave can double the arc of sky daylight hitting the photovoltaic cells, significantly boosting daily milliamp-hour (mAh) storage even on overcast days.
Shade Audit Checklist Before Relocating Lights
- Inspect poly-silicon panel surface for tree sap, pollen, dust films, or water spots.
- Check if a roof overhang, fascia, or porch eave casts a direct shadow on the panel between 10 AM and 2 PM.
- Confirm nearby floodlights or streetlights are not shining directly onto the dusk-to-dawn sensor.
- Verify the light is set to Mode 1 (19FT Motion Sensor Mode) rather than continuous full brightness.
- Ensure the mounting height maximizes exposure to open sky directly above surrounding structures.
Decision Tree: Reposition, Re-angle, or Change Lighting Modes?
- Is the light mounted directly under a roof eave or porch ceiling? → Yes: Move mounting bracket 6-12 inches lower or use an extension arm outward past the drip line.. No: Evaluate operational lighting mode.
- Is the light currently running in continuous lighting mode? → Yes: Toggle power switch to Mode 1 (19FT Motion Sensor Mode) to conserve power.. No: Inspect panel cleanlines and surrounding foliage.
- Is the panel covered in pollen, tree sap, or dirt film? → Yes: Clean with a damp microfiber cloth and mild soap; do not use abrasive pads.. No: Trim overhanging tree branches blocking the top sky view.
Best Solar Outdoor Wall Lights for Low-Sunlight Areas
When selecting wall lights for porches, covered patios, and shaded walkways, energy efficiency and versatile operating modes are critical. The 4 Pack Solar Powered Porch Lights from SolarOutdoorWallLights.com combine high-efficiency poly-silicon panels with an IP65 waterproof design and a standard E26/E27 light bulb base, ensuring durable performance under variable weather conditions.
Key Takeaways: Maximizing Efficiency in Partial Shade
Photo by Mehmet Kaya on Pexels
- Poly-silicon panels gather power from diffuse sky light, but micro-obstructions like dirt reduce energy yield dramatically.
- Mode 1 (19FT Motion Sensor Mode) is essential for shaded installations, preserving charge for when lighting is actually needed.
- Mounting just a few inches lower on an exterior wall can prevent roof eaves from blocking critical peak midday light.
- Artificial ambient light from nearby lamps can fool dusk-to-dawn sensors into staying off.
- Regular cleaning of panel surfaces prevents sap and dust accumulation from degrading 3.7V/2200mAh battery recharge rates.
Step-by-Step Fixes to Maximize Sunlight Capture in Low-Light Spots
Follow these practical steps to optimize your solar outdoor wall lights for shaded locations:
Common Low-Light Solar Placement Mistakes to Avoid
Avoid these common pitfalls when mounting solar outdoor wall lights around covered spaces:
Frequently Asked Questions About Solar Lights in Shade
Do poly-silicon solar panels charge on overcast or cloudy days?
Yes. High-efficiency poly-silicon panels absorb diffuse solar radiation through cloud cover. While charging rates are lower than in direct sun, 6 to 8 hours of ambient daylight provides sufficient energy for motion-sensor operation.
How do I clean tree sap or dust off solar panels to maximize shade charging?
Use a soft microfiber cloth dampened with warm water and a drop of mild dish soap. Wipe gently across the panel surface. Avoid scouring pads or harsh chemical solvents that scratch the protective casing.
Which lighting mode conserves the most battery when solar panels get less than 4 hours of light?
Mode 1 (19FT Motion Sensor Mode) conserves the most energy. The light stays off during dark hours until motion is detected, consuming virtually zero power during standby and ensuring reliable security illumination.
Can artificial porch lights trick the dusk-to-dawn sensor into staying off?
Yes. Strong artificial illumination striking the dusk-to-dawn photocell tricks the fixture into sensing daylight. Re-angling the light fixture or shifting it away from direct beam paths resolves the issue.
Find fast answers to common troubleshooting questions about low-light solar performance.
Related Guides & Outdoor Lighting Resources
- Where to Position Solar Wall Lights for Maximum Sunlight and Optimal Security
- Solar Motion Sensor Light Placement: Heights, Angles & Spacing
- Outdoor Solar Porch Light Placement: 5 Aesthetic & Charging Rules
Immediate Action Plan for Shaded Wall Lights
Your decision: Determine whether your short runtime stems from continuous power drain or physical eave shading.
Do this next: Toggle the power switch to Mode 1 (19FT Motion Sensor Mode) and wipe down the poly-silicon panel surface with a damp microfiber cloth.
- Read next: Where to Position Solar Wall Lights for Maximum Sunlight and Optimal Security
- Read next: How to Optimize Solar Wall Light Motion Sensors
Upgrade problem shade areas with the IP65 Waterproof 4 Pack Solar Powered Porch Lights featuring 19FT motion sensor modes.
Take these concrete actions today to fix your shaded solar wall lights and achieve reliable dusk-to-dawn coverage.
Cover photo by Kindel Media on Pexels.