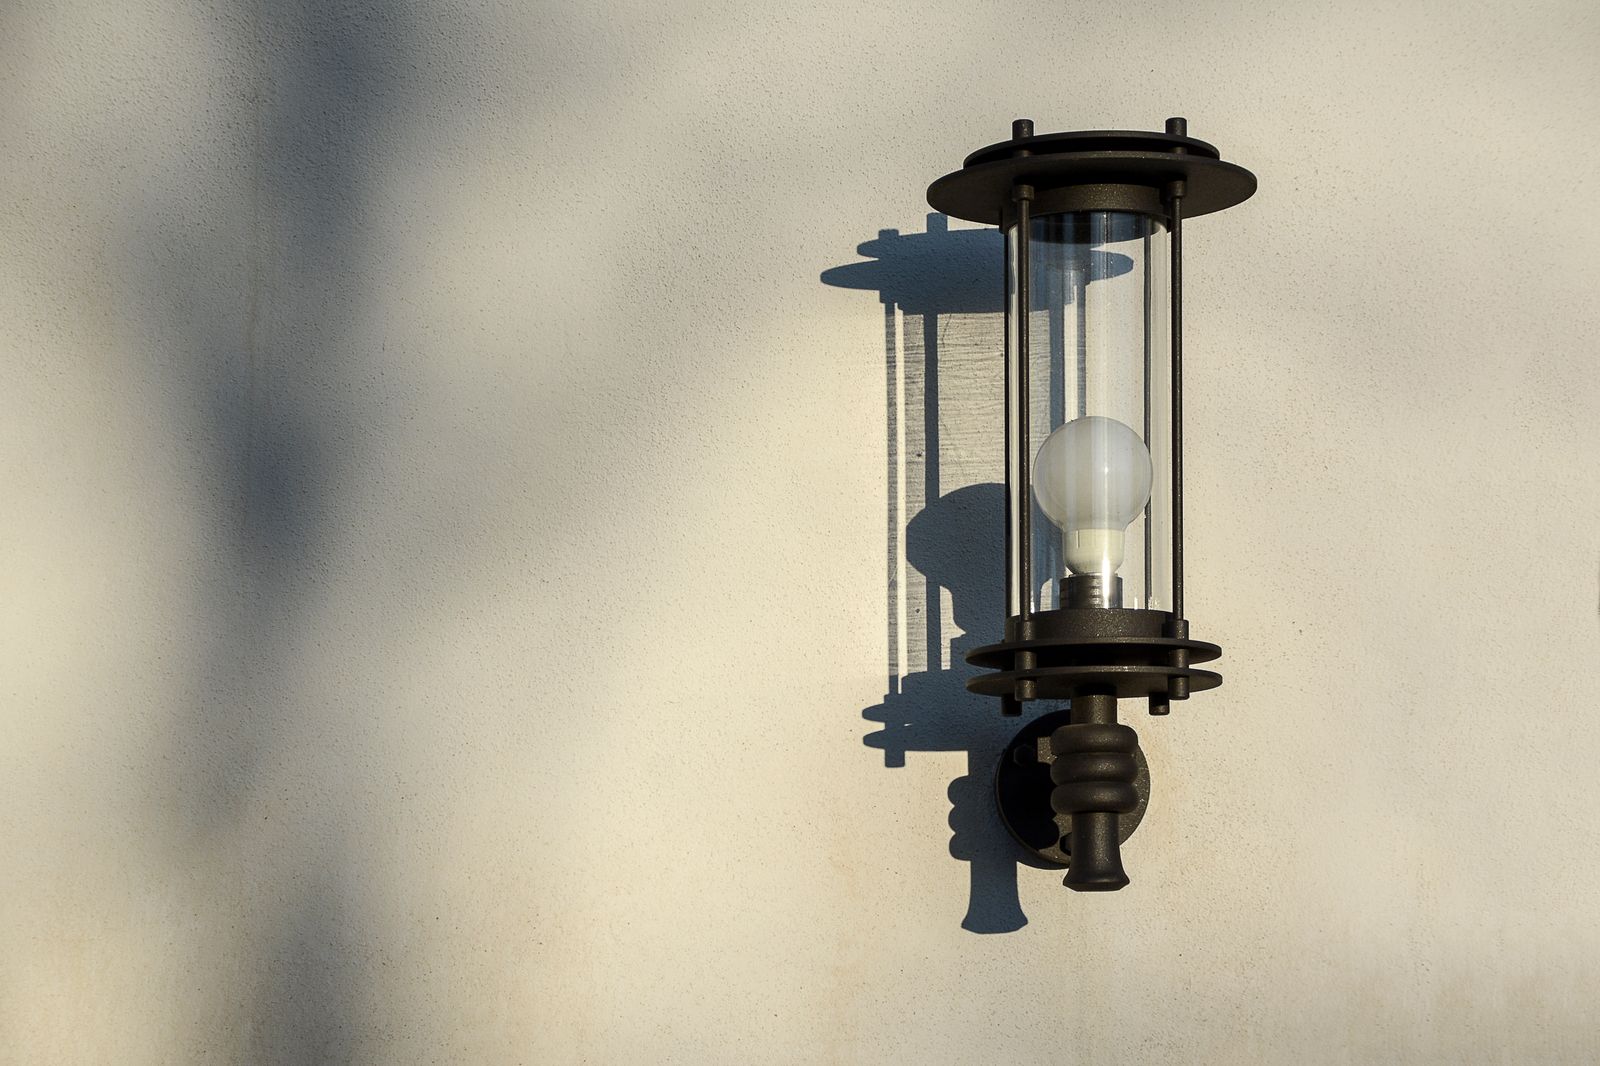
Where to Position Solar Wall Lights for Maximum Sunlight and Optimal Security
Mount solar wall lights 6 to 8 feet high on South or Southwest-facing walls to secure 6 to 8 hours of direct solar exposure. This geometry powers the 3.7V/2200mAh battery for 8 to 10 hours of illumination while maximizing the 19-foot motion detection sweep without structural interference.
Essential Placement Principles at a Glance
- Mount fixtures between 6 and 8 feet high to maintain a full 19-foot motion detection radius and optimal beam coverage.
- Position poly-silicon solar panels on South or Southwest facades to receive 6 to 8 hours of unshaded daily sunlight.
- Maintain a 12 to 18-inch clearance below roof eaves to prevent shadow projection across solar cell arrays during peak daylight hours.
- Leverage 3 flexible lighting modes (Motion Sensor & Flicker modes) to balance 8 to 10 hours of battery life with security needs.
- Avoid mounting within 10 feet of secondary ambient light sources to keep internal dusk-to-dawn sensors functioning accurately.
Hardware Specification & Placement Boundary Matrix
Photo by Artūras Kokorevas on Pexels
| Hardware Feature | Technical Parameter | Optimal Placement Boundary | Performance Impact of Incorrect Setup |
| --- | --- | --- | --- |
| Solar Panel Type | High-Efficiency Poly-Silicon | Unshaded South/Southwest facing exterior wall | 30–50% reduction in battery charge rate if shaded by roof eaves. |
| Internal Battery | 3.7V / 2200mAh Rechargeable Lithium-Ion | Requires 6–8 hours direct sunlight for 8–10 hours run time | Insufficient night runtime (under 4 hours) if daylight charging is restricted. |
| Motion Detector (PIR) | 19FT Max Induction Distance | 6 to 8 feet vertical height angled across approach paths | Mounting above 8ft reduces sensor detection sensitivity by over 40%. |
| Weather Resistance | IP65 Waterproof & Heatproof | Exposed exterior facades, open patios, and rooflines | Fully withstands direct rain, frost, and high summer heat without water ingress. |
| Bulb Socket / Base | Standard E26 / E27 Light Bulb Base | Accessible fixture bottom clear of ground obstructions | Ensures easy bulb maintenance while preserving sealed battery housing. |
Review how the physical hardware specifications of solar wall light units map to structural and environmental mounting boundaries.
Sun Exposure vs. Security Coverage Zone Blueprint
The diagram below illustrates the geometric alignment required between incoming solar rays and ground-level motion detection zones.
Pre-Installation Placement & Orientation Audit Checklist
- Verify wall location receives 6 to 8 hours of direct, unshaded sunlight (South/Southwest ideal).
- Check that roof eaves or soffits do not cast shadows over the top solar panel between 10 AM and 4 PM.
- Measure mounting height to ensure panel is positioned between 6 and 8 feet above ground level.
- Confirm motion sensor line-of-sight covers approach paths within the 19-foot detection radius.
- Ensure no nearby streetlights or artificial ambient light sources illuminate the dusk-to-dawn sensor at night.
Pro Tip: Overcoming Eave Shadows Without Sacrificing Entry Security
When installing fixtures near entry doors underneath wide gables or 2-foot roof overhangs, homeowners often make the mistake of mounting the light flush against the soffit. In North America, the winter sun sits at a lower angle (approx. 25–35° relative to the horizon). A 24-inch eave cast can block up to 70% of usable light on solar cells mounted too high.
To preserve maximum photon absorption while keeping the light source near your doorway, drop the installation height to exactly 6.5 feet above the threshold, ensuring at least 14 inches of vertical clearance below the edge of the overhang. This simple adjustment keeps the top-mounted poly-silicon panel fully unshaded during critical midday peak sun hours while maintaining crisp 19-foot motion trigger performance.
Location Decision Framework: Selecting the Right Wall Facade
To maximize performance, balance direct sunlight with motion sensor range: mount 6-8 feet high, face South/Southwest, and keep panels out of overhang shade.
Best choice for
- Direct Vertical Mount at 6-7 Feet — Captures the mandatory 6-8 hours of direct sunlight while keeping the motion sensor at peak 19FT sensitivity.
- Outer Wall Edge Mount (Clear of Roofline) — Prevents roof overhangs from casting shadows across poly-silicon solar panels during peak midday UV hours.
- Mounting under North-facing gables receiving zero direct sunlight.
- Mounting above 9 feet high where the 19FT motion sensor cone fails to detect ground-level movement.
- Dual-Aspect Corner Mounting — Allows single light units to catch partial afternoon light while sweeping two access paths.
Recommended Equipment: High-Efficiency 4-Pack Solar Wall Lights
For complete multi-zone coverage, deploy wireless fixtures designed specifically to withstand harsh outdoor weather while optimizing battery management.
Optimizing outdoor solar lighting performance requires balancing solar energy capture with physical motion detection geometry. Wireless solar wall lights offer complete operational freedom by eliminating hardwired electrical requirements, but their real-world success relies on proper structural positioning.
Poly-Silicon Solar Panel Charging & Direct Sun Exposure
Solar illumination depends entirely on the energy collected by the top-mounted poly-silicon solar panel. In the continental United States, solar panels must collect 6 to 8 hours of direct sun rays daily to convert light photons into stored electrical energy within the internal 3.7V/2200mAh rechargeable battery. When fully charged, this battery capacity delivers 8 to 10 hours of continuous or motion-triggered illumination through the night.Because the sun traverses the southern sky across North America, orienting fixtures toward the South or Southwest yields maximum solar conversion. Mounting fixtures on North-facing walls results in an immediate 50–70% drop in photon harvesting, reducing night runtime to under 3 hours during winter months.
Motion Sensor Detection Cone: The 19-Foot Radial Arc
The integrated Passive Infrared (PIR) motion sensor detects temperature variations across a 19-foot induction radius. When a person or animal moves across the sensor's field of view, the light instantly switches from standby or low-flicker mode to high-brightness mode.Mounting height dictates the effectiveness of this detection cone:
- Below 6 Feet: The motion sensor angle points too close to the wall, cutting detection distance to under 10 feet.
- Between 6 and 8 Feet (Optimal): The PIR beam sweeps ground level perfectly out to 19 feet, capturing approaching visitors at entry points or driveway boundaries.
- Above 8 Feet: The sensor sweeps above human height, leaving a ground-level blind spot extending 5 to 8 feet from the wall.
Environmental Durability & Weather Seals
Outdoor fixtures endure continuous exposure to rain, snow, heat, and frost. Units engineered with an IP65 waterproof and heatproof rating feature sealed internal battery compartments and corrosion-resistant E26/E27 bulb sockets. This structural sealing allows flexible installation across open deck posts, exposed garage facades, and unshaded garden perimeters without risk of moisture intrusion or thermal degradation.Placement Matrix by Home Location Scenario
Photo by Kim Lawrie on Pexels
| Home Location Scenario | Optimal Mounting Height | Ideal Solar Orientation | 19FT Motion Sensor Target Zone | Recommended Mode Setup |
| --- | --- | --- | --- | --- |
| Front Porch Entryway | 6.0 to 6.5 Feet | South or West Facade | Steps, front door threshold, landing pad | Motion Sensor Mode (100% Brightness on approach) |
| Garage Exterior Perimeter | 7.0 to 8.0 Feet | South or Southwest Facade | Driveway approach, side access doors | Motion Sensor Mode (Sweeps 19ft driveway boundary) |
| Side Walkway & Alleyway | 6.5 to 7.0 Feet | South or East Facade | Narrow path, side gate entry | Low-Flicker / Motion Sensor Hybrid Mode |
| Rear Deck & Backyard Patio | 6.0 to 7.5 Feet | South or West Facade | Patio seating area, deck stairs | Flicker / Ambient Decorative Mode or Motion Mode |
Evaluate the recommended positioning configurations based on specific architectural placement scenarios around your home.
5 Critical Placement Mistakes That Drain Battery & Blind Sensors
Avoid these common mounting errors to ensure your solar wall lights deliver maximum brightness and reliable motion detection.
Frequently Asked Questions About Solar Light Placement
Action Plan: Executing Your Outdoor Lighting Layout
Your decision: Determine your wall facades' daily solar exposure and map out your primary motion-detection walk paths.
Do this next: Use a measuring tape to mark mounting points at 6-8 feet height clear of roof eaves, ensuring panels face South or Southwest.
- Read next: How to Position Outdoor Motion Sensor Lights to Eliminate Entryway Blind Spots
Deploy the 4 Pack Solar Outdoor Wall Lights to secure all four key zones of your home exterior.
Follow this strategic sequence to complete your installation and secure your property.