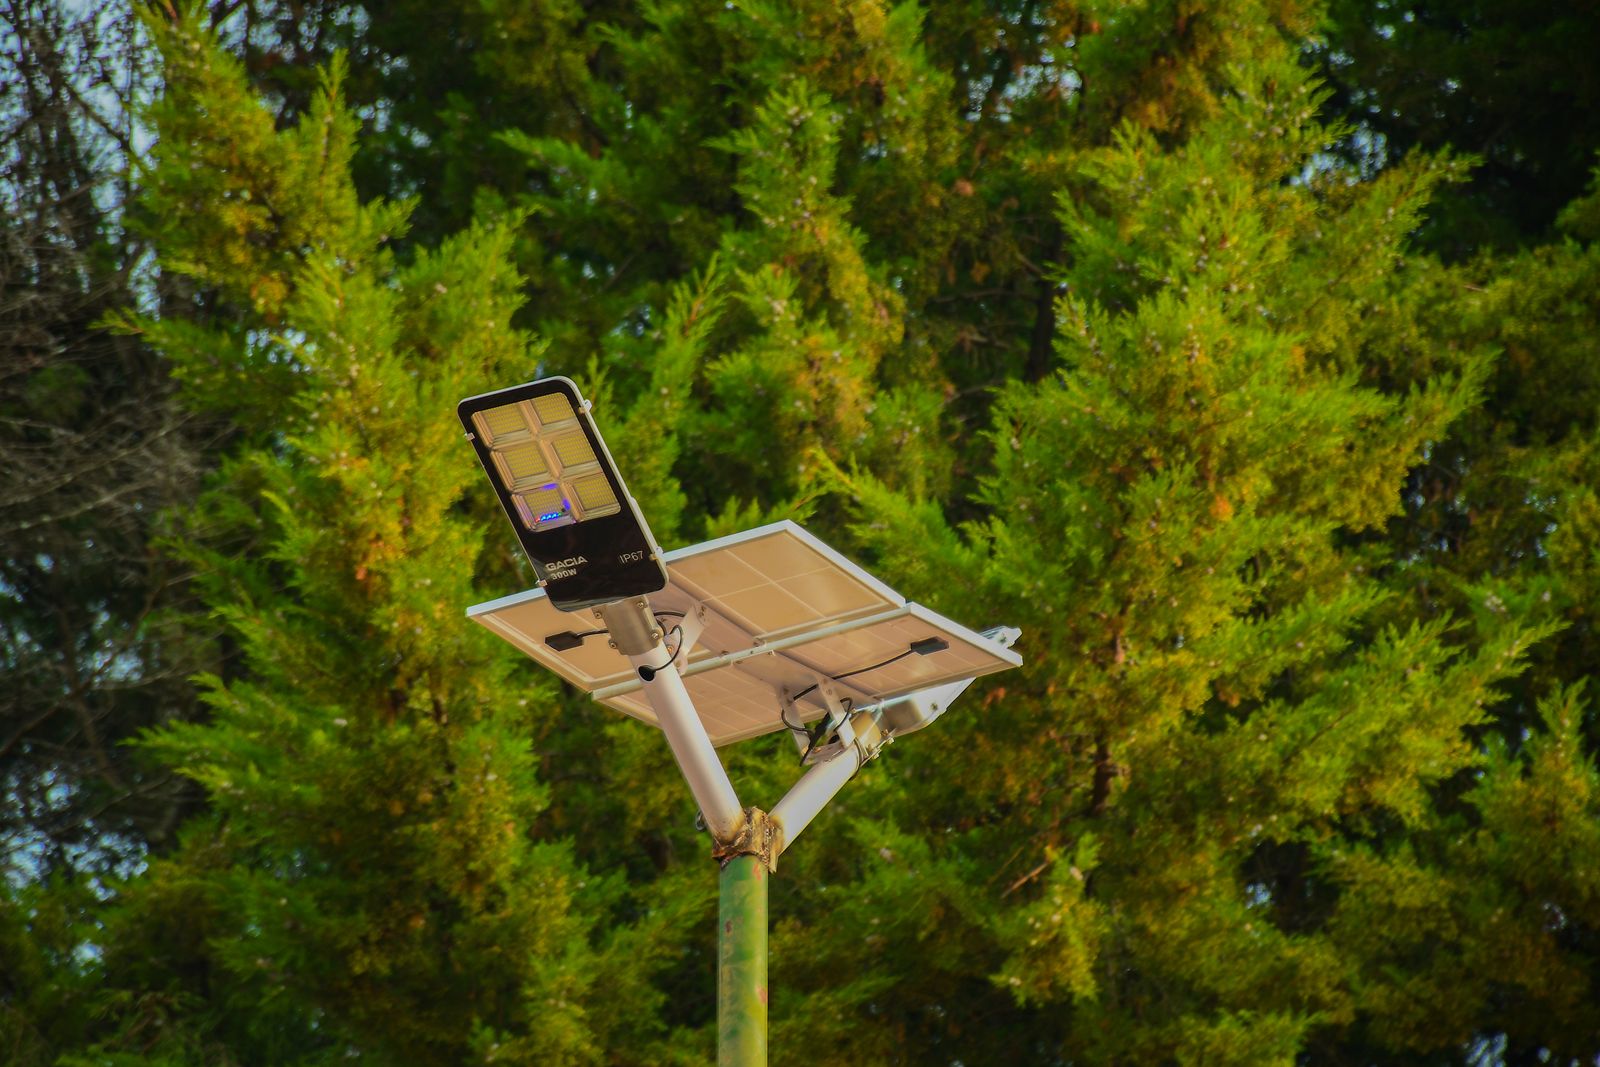
Solar Motion Sensor Light Placement: Heights, Angles & Spacing
Should you mount solar motion sensor lights high for broad coverage or low for sensor accuracy? Mount solar motion wall lights between 6.5 and 8.0 feet high, angled slightly downward, and spaced 12 to 15 feet apart on South or Southwest-facing walls to achieve maximum 19-foot PIR induction range and 6 to 8 hours of battery-charging sunlight.
Interactive Solar Motion Security Coverage & Spacing Calculator
Use this coverage calculator to determine exact unit counts and placement intervals along your exterior walls or fence lines based on sensor physics and panel intake requirements.
Placement Matrix: Optimal Setup by Installation Scenario
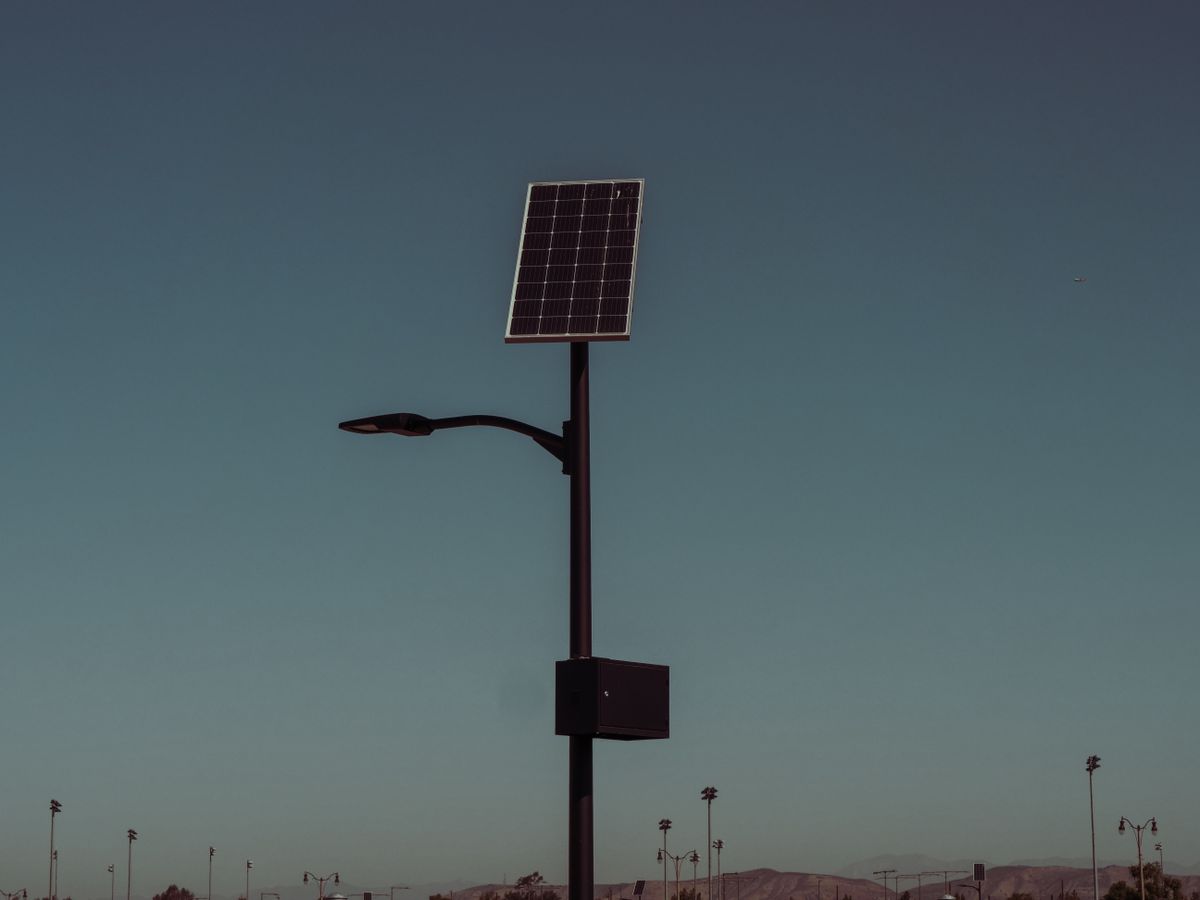
Photo by Kindel Media on Pexels
| Installation Scenario | Optimal Mounting Height | Recommended Spacing | Solar Orientation | PIR Sensor Strategy |
| --- | --- | --- | --- | --- |
| Front Porch & Main Entryway | 6.5 – 7.5 Feet | N/A (Single or Dual) | South / Southwest | Angle sensor across pathway approach to detect cross-body heat movement within 19FT. |
| Garage & Driveway Perimeter | 7.5 – 8.0 Feet | 12 – 14 Feet | South / West | Position above vehicle hood clearance; avoid pointing directly at street traffic to prevent false triggers. |
| Side Walkway / Narrow Alley | 6.5 – 7.0 Feet | 12 – 15 Feet | South / East / West | Stagger units along wall or fence to create overlapping 120-degree motion detection cones. |
| Back Patio & Outdoor Deck | 7.0 – 8.0 Feet | 10 – 13 Feet | South / Southwest | Mount on exterior wall clear of deep roof eaves; use Dim-to-Bright mode for ambient lighting. |
Review recommended height, spacing, and angle metrics customized for common residential outdoor zones.
Expert Advice: Resolving the Solar vs. Motion Vector Conflict
When installing motion security lights on North-facing entryways or shaded alleyways, your security lighting needs and solar charging requirements often conflict. North-facing walls receive primarily indirect sunlight, extending battery recharge times well beyond the standard 6–8 hours.
To resolve this without sacrificing perimeter security, mount the fixture near an open building corner where the high-efficiency Poly-silicon solar panel can capture angled East or West sun exposure. Alternatively, offset the unit 2 to 3 feet outward from deep roof soffits. This guarantees full 8–10 hour dusk-to-dawn battery reserves while keeping the 19FT PIR sensor locked onto your target entry point.
Top Placement Mistakes That Ruin Security Coverage and Battery Life
Installing solar wall lights without accounting for solar geometry and thermal infrared physics leads to prematurely drained batteries and dark blind spots. Avoid these five critical failure modes during setup:
Visual Positioning Guides: Detection Cones & Perimeter Maps
Refer to these visual specifications when mapping out your mounting elevation and perimeter coverage.
Initial Steps Before Drilling
Your decision: Determine your mounting surface material and map out daily sunlight patterns for your target walls.
Do this next: Use painter's tape to mock up light positions at 7 feet high, test with a flashlight during daylight, and run the coverage calculator above before drilling.
- Read next: Porch vs. Garage Placement: Optimal Mounting Heights
- Read next: Do Solar Wall Lights Work in Partial Shade?
High-Efficiency 4-Pack Solar Outdoor Wall Lights featuring 19FT induction motion sensors and IP65 weatherproofing.
Take these preliminary steps before permanently drilling mounting holes into brick, wood, or vinyl siding.
Core Rules for Solar Motion Light Placement
Keep these essential positioning principles in mind when planning your wireless outdoor light setup:
Real-World Property Layouts & 4-Pack Deployment Strategies
Standard 2-Car Garage & Driveway — Mount 2 lights on either side of the garage door frame at 7.5 feet high, spaced 14 feet apart. Angle panels Southwest to absorb afternoon sun and illuminate approaching vehicles without blinding drivers.
Long Side Walkway or Dog Run — Deploy 2 lights along the side wall or fence line at 6.5 feet high, spaced 12 feet apart. Set fixtures to Motion Sensor Mode to maintain security while preserving battery power overnight.
Back Patio & Deck Perimeter — Place 2 lights on opposite corners of the patio exterior wall at 7.0 feet high. Use Dim-to-Bright mode to provide ambient accent light that brightens instantly when movement is detected.
Full 4-Pack Perimeter Security Blitz — Install 1 light at the front porch (7FT), 2 framing the garage (7.5FT), and 1 along the dark side gate (6.5FT) to eliminate all ground-level access blind spots.
Here is how to deploy a standard 4-pack of solar outdoor wall lights across typical US home layouts for complete coverage:
Pre-Drill Solar Motion Light Placement Checklist
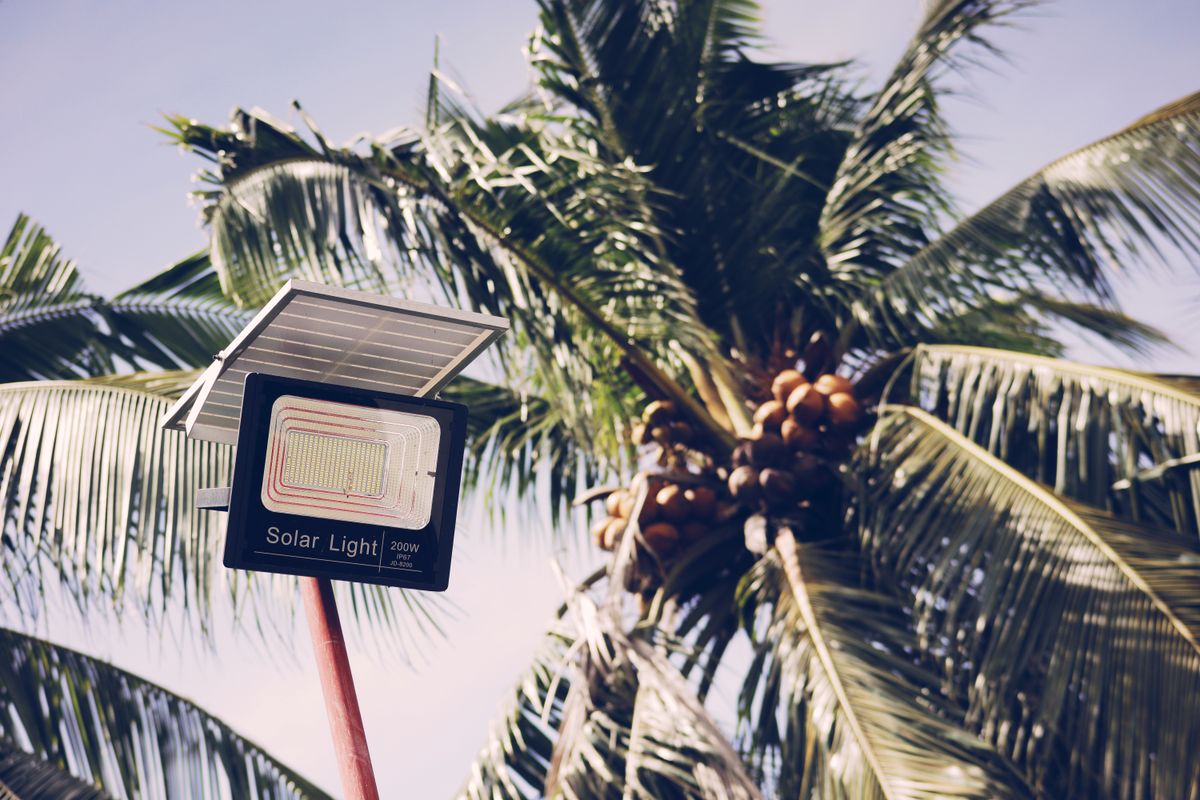
Photo by Nothing Ahead on Pexels
- Verify target wall receives 6 to 8 hours of direct, unshaded sunlight daily.
- Measure mounting height between 6.5 and 8.0 feet from ground level.
- Check that roof eaves or soffits do not block top-down sun exposure to the panel.
- Ensure PIR motion lens is pointed across anticipated movement paths, not directly toward them.
- Space adjacent lights 12 to 15 feet apart to overlap detection cones without blind spots.
- Confirm location is clear of swaying tree branches or heat vents that cause false triggers.
- Test lighting mode switch (Motion Sensor vs. Flicker Modes) before final mounting.
Printable Placement & Spacing Quick Reference Guide
- Optimal Height: 6.5 - 8.0 FT from ground level.
- Optimal Spacing: 12 - 15 FT between adjacent units on flat walls.
- Solar Absorption Rule: 6 - 8 Hours of direct sunlight = 8 - 10 Hours nighttime runtime.
- Detection Cone: 19 FT induction distance with a 120-degree PIR thermal angle.
- Weather Rating: IP65 Waterproof & Heatproof for year-round extreme US outdoor weather.
- Mode Selection: Toggle power switch between Motion Sensor Mode and Flicker Modes prior to elevated mounting.
Recommended DIY Installation Guides
- Porch vs. Garage Placement: Optimal Mounting Heights
- Do Solar Wall Lights Work in Partial Shade?
- Troubleshooting Outdoor Solar Motion Sensors
- Porch vs. Garage Placement: Optimal Mounting Heights — Detailed breakdown of elevation differences for main entry doors versus wide vehicular driveways.
- Do Solar Wall Lights Work in Partial Shade? — Understanding Poly-silicon panel photon conversion efficiency in wooded or shaded yards.
- Troubleshooting Outdoor Solar Motion Sensors — Step-by-step diagnostic fixes for motion range, sensitivity, and power depletion issues.
Frequently Asked Questions About Solar Motion Sensor Placement
Get answers to common questions about height limits, directional orientation, and motion sensor modes.
Recommended Outdoor Solar Security Lighting
Equip your home perimeter with high-efficiency wireless solar wall lights designed for automatic dusk-to-dawn performance.
Action Plan: Secure Your Perimeter
Your decision: Determine your mounting surface material and map out daily sunlight patterns for your target walls.
Do this next: Use painter's tape to mock up light positions at 7 feet high, test with a flashlight during daylight, and run the coverage calculator above before drilling.
- Read next: Porch vs. Garage Placement: Optimal Mounting Heights
- Read next: Do Solar Wall Lights Work in Partial Shade?
High-Efficiency 4-Pack Solar Outdoor Wall Lights featuring 19FT induction motion sensors and IP65 weatherproofing.
Follow these final steps to calculate your layout, choose your lighting modes, and mount your solar security lights.
Cover photo by finix photographer on Pexels.