Troubleshooting Solar Motion Sensor Wall Lights: Quick DIY Fixes for Power, Motion, and Range Issues
Is your outdoor solar motion wall light refusing to turn on, strobing continuously, or failing to trigger within its expected 19FT range?
Most solar wall light failures stem from uncharged 3.7V/2200mAh batteries, shaded poly-silicon solar panels, ambient light tricking the dusk-to-dawn sensor, or PIR lens obstructions rather than damaged circuitry. A systematic 5-minute diagnostic routine quickly differentiates simple positioning or maintenance fixes from permanent internal hardware degradation.
Solar Motion Light Diagnostic Flowchart
- Is the light turning on at night? → Yes: Check if light flickers or shuts off after 1-2 hours. No: Perform the 5-Minute Solar Panel Cover Test.
- Does light illuminate when solar panel is completely covered? → Yes: Ambient night light is blinding the dusk-to-dawn sensor. Relocate or shield fixture.. No: Verify 3-mode switch is in Mode 1, 2, or 3 (not OFF)..
- Is the mode switch set properly? → Yes: Execute 48-Hour Deep Charge Reset to revive 3.7V 2200mAh battery.. No: Toggle switch to desired mode and retest in dark environment..
- Does light trigger when walking within 19FT? → Yes: Unit functional. Clean panel monthly to retain 8-10 hour runtime.. No: Clean PIR lens dome and re-angle mounting height to 6.5–8 feet..
Symptom-First Solar Wall Light Diagnostic Matrix
Photo by Jan van der Wolf on Pexels
| Failure Mode | Probable Cause | Diagnostic Test | Recommended Fix |
| --- | --- | --- | --- |
| Completely Dead at Night | Power switch set to OFF, ambient light interference, or depleted 3.7V battery | Cover poly-silicon panel entirely with opaque cloth in dark room | Toggle mode switch; perform 48-hour deep charge with switch set to OFF during daylight. |
| Rapid Nighttime Flickering / Strobing Loop | Light bounces off reflective surface back onto its own solar panel | Observe if flickering stops when blocking light reflection with hand | Adjust fixture angle or repaint glossy white wall with non-reflective matte finish. |
| PIR Motion Sensor Ignores Movement | Dirty PIR dome, direct head-on approach, or mounted above 8 feet height | Walk across the 120-degree sensor path from side to side at 10-15 feet distance | Wipe PIR dome with microfiber cloth; lower mounting height to 6.5–8 feet. |
| Short Runtime (Dies After 1–2 Hours) | Shaded solar panel, winter sun angle, or degraded battery capacity | Calculate daily direct sunlight hours falling on solar panel surface | Trim overhanging tree branches or relocate fixture to unshaded southern exposure. |
| Light Stays On Continuously | Switch stuck in Mode 3 (Constant Medium Light) or PIR stuck on heat target | Cycle power switch to Mode 1 (Sensor Mode) and check after 20 seconds | Set switch to Mode 1; move heat sources (HVAC vents, dryer exhausts) out of 19FT range. |
Identify your specific light failure mode below to instantly jump to the primary cause, diagnostic test, and recommended home fix.
Expert Tip: The 5-Minute Solar Panel Cover Test
To immediately isolate whether a failure is caused by ambient night light or internal component damage, completely obscure the poly-silicon panel using black electrical tape or a thick dark cloth while keeping the power switch in Mode 1. If the LEDs instantly light up, your battery, circuit board, and light engine are fully operational—the issue is solely artificial ambient light tricking the dusk-to-dawn sensor into detecting daytime.
5-Point Pre-Troubleshooting Hardware Checklist
- Inspect the poly-silicon solar panel surface for dirt, pine sap, pollen, dust, or snow build-up.
- Verify that the 3-mode power switch is explicitly set to Mode 1, 2, or 3 (not toggled to OFF).
- Ensure no nearby streetlights, porch lights, or floodlights shine directly onto the solar panel at night.
- Check that the PIR motion sensor dome is clean and free of spider webs, mud, or stray paint drops.
- Confirm the mounting location receives 6-8 hours of unshaded direct sunlight daily.
PIR Sensor & Motion Detection Diagnostic Path
- Is the light mounted higher than 8 feet off the ground? → Yes: Lower fixture to 6.5–8 feet. High mounting angles project the 19FT arc above head height.. No: Proceed to motion approach direction test.
- Are subjects walking directly toward the light rather than across its path? → Yes: Re-angle fixture or path. PIR passive infrared sensors detect cross-wise movement 300% better than head-on approach.. No: Check PIR sensor dome surface condition.
- Is the PIR fresnel lens frosted with dirt, dust, or web buildup? → Yes: Clean dome gently with warm water and isopropyl alcohol on a soft cotton swab.. No: Check ambient thermal conditions.
- Is ambient air temperature above 95°F (35°C)? → Yes: High air temperatures match human skin heat signatures, reducing PIR contrast sensitivity temporarily.. No: PIR sensor board hardware failure; replace unit under warranty.
Immediate Action Steps After Initial Diagnosis
Your decision: Determine if your solar wall light failure can be resolved by cleaning/repositioning, performing a 48-hour deep charge, or replacing damaged internal components.
Do this next: Perform the 5-Minute Solar Panel Cover Test to confirm if the photo-sensor and LED board function properly.
- Read next: How to Clean Solar Outdoor Wall Lights for Maximum Daily Charging Efficiency
- Read next: How to Optimize Solar Wall Light Motion Sensors: Sensitivity, Modes & 19FT Range Setup
If internal components are water-damaged or degraded beyond repair, replace them with weather-resistant solar wall lights featuring high-efficiency poly-silicon panels.
Once you have identified whether your fixture suffers from solar shading, ambient light blindness, or PIR misalignment, execute these quick recovery steps.
Essential Troubleshooting Key Takeaways
Keep these key diagnostic facts in mind during outdoor solar light maintenance:
Technical Spec Reference Matrix (3.7V / 2200mAh Models)
| Technical Parameter | Factory Specification | Failure Threshold | Diagnostic Meaning |
| --- | --- | --- | --- |
| Solar Panel Type | High-efficiency Poly-silicon | < 4 Hours direct sun exposure | Insufficient daily energy harvest leads to short night runtime (<2 hours). |
| Battery Cell | 3.7V / 2200mAh Lithium-ion | Resting voltage < 2.8V DC | Deep discharge protection locked battery board; requires 48-hour deep charge reset. |
| PIR Motion Sensor | 19FT range / 120° Detection Arc | Mounting height > 8.5 feet | Over-height mounting causes detection blind spots directly underneath fixture. |
| Dusk-to-Dawn Photodiode | Auto cut-off at > 30 Lux ambient light | Artificial ambient glare > 15 Lux | Nearby porch light or street lamp prevents light from turning on at dusk. |
| Waterproof Rating | IP65 Weatherproof & Heatproof | Internal condensation visible on lens | Seal failure or loose E26/E27 bulb base ring allowing water ingress to PCB. |
Compare your solar light's factory parameters against operational failure thresholds to pinpoint hardware bottlenecks.
Recommended Replacement & Security Solutions
If your existing solar lights show severe internal moisture corrosion or burnt circuit boards, repairing micro-electronics is rarely cost-effective. Upgrading to modern high-efficiency poly-silicon units ensures reliable year-round operation.
Preventative Maintenance Schedule for Outdoor Solar Lights
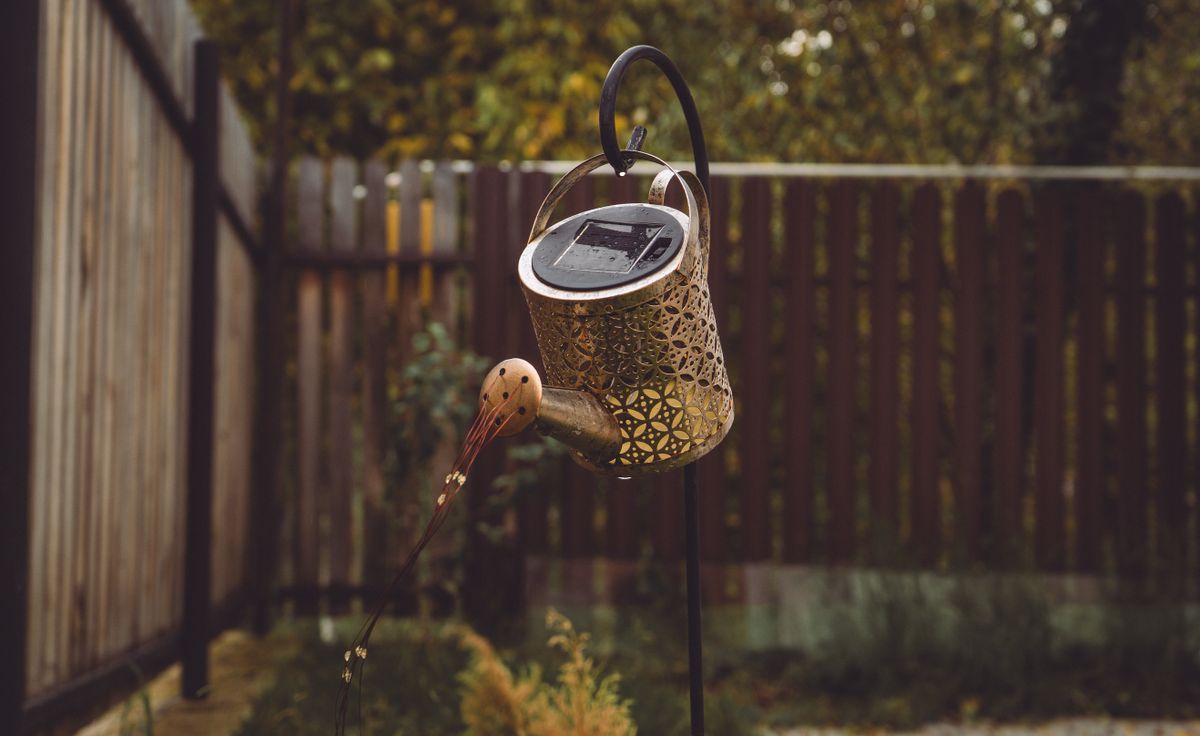
Photo by Gurgenidze G on Pexels
- Monthly — Wipe poly-silicon solar panel and PIR sensor dome with damp microfiber cloth to remove pollen, dust, and spider webs.
- Quarterly — Inspect IP65 housing seals, tighten wall mounting brackets against wind vibration, and trim surrounding garden foliage.
- Bi-Annually (Spring & Autumn) — Perform a 48-hour deep charge reset and verify 3-mode switch mechanism toggles smoothly without sticking.
- Annually — Check E26/E27 bulb base contact point for oxidation; replace internal 3.7V 2200mAh lithium battery cell if runtime degrades below 5 hours.
Comparing Fixable Issues vs. Permanent Component Failures
| Issue Category | Symptom | Fixable via Maintenance? | Cost & Effort Required |
| --- | --- | --- | --- |
| Solar Absorption Shading | Light turns off after 1 hour | Yes — Prune tree branches or shift bracket 1-2 feet to unshaded wall space | Free / 15 Minutes |
| Ambient Light Glare | Light will not turn on at night | Yes — Add small cardboard glare visor or reposition away from streetlight line-of-sight | Free / 10 Minutes |
| Deep Battery Discharge | Light dark despite sunny days | Yes — Perform 48-hour deep charge cycle with switch OFF | Free / 2 Days passive charge |
| Internal PCB Water Ingress | Rusted electronics, burning odor, permanent dark lens | No — IP65 seal breached; internal micro-circuit shorted | Replacement Required |
| Cracked Poly-silicon Glass | Physical hail impact or dropped unit | No — Solar absorption efficiency drops >90% permanently | Replacement Required |
Determine whether your light's issue can be resolved with simple maintenance or requires fixture replacement.
Step-by-Step 48-Hour Deep Charge Recovery Procedure
If your solar wall light has experienced rainy weather, winter shade, or sat dormant in storage, the 3.7V 2200mAh lithium battery may enter a low-voltage shutdown state. Follow these exact steps to recalibrate the charging circuit:
Common DIY Solar Light Troubleshooting Mistakes
Avoid these frequent missteps when diagnosing outdoor solar wall lights:
Frequently Asked Questions
Quick answers to common questions about solar motion wall light operation and troubleshooting.
Related Troubleshooting & Optimization Guides
- Troubleshooting Solar Motion Sensor Wall Lights: Fixing Range, Motion, and Power Issues
- Frequently Asked Questions About Solar Motion Sensor Wall Lights
- Ultimate Guide to Choosing the Best Solar Wall Lights with Motion Sensors
Final Diagnostic Next Steps & Resolution Plan
Your decision: Determine whether your solar wall light failure can be resolved by cleaning/repositioning, performing a 48-hour deep charge, or replacing the light fixture entirely.
Do this next: Perform the 5-Minute Solar Panel Cover Test tonight to confirm whether your photodiode and battery electronics are functioning properly.
- Read next: How to Clean Solar Outdoor Wall Lights for Maximum Daily Charging Efficiency
- Read next: How to Optimize Solar Wall Light Motion Sensors: Sensitivity, Modes & 19FT Range Setup
If internal components are water-damaged or degraded beyond repair, replace them with our weather-resistant 4 Pack Solar Powered Porch Lights featuring high-efficiency poly-silicon panels today.
Take action today to restore full illumination and perimeter security to your outdoor living spaces.
Cover photo by Jan van der Wolf on Pexels.