Why Solar Wall Lights Die Early: Dirt & Charging Fixes
Are your solar outdoor wall lights dying after only two to four hours? Heavy dirt accumulation on the poly-silicon panel surface, poor sunlight exposure, or running high-drain continuous lighting modes are the primary causes. Cleaning grime off the resin, realigning the panel toward unshaded daylight, and switching to motion sensor mode restores proper eight-to-ten-hour nightly operation.
Visual Diagnostic Flowchart
- Is the poly-silicon solar panel visible covered with dust, pollen, or hard water mineral spots? → Yes: Clean panel surface using warm water and a soft microfiber cloth.. No: Check sunlight positioning..
- Does the installation site receive direct, unshaded sunlight between 10 AM and 4 PM? → Yes: Verify operating mode setting.. No: Relocate fixture away from soffits, eaves, or tree shadows..
- Is the power switch set to Continuous High Light Mode (Mode 1)? → Yes: Switch to Motion Sensor Mode (Mode 2 or Mode 3) to conserve battery capacity.. No: Test battery voltage and light sensor responsiveness..
Solar Wall Light Failure Mode Matrix
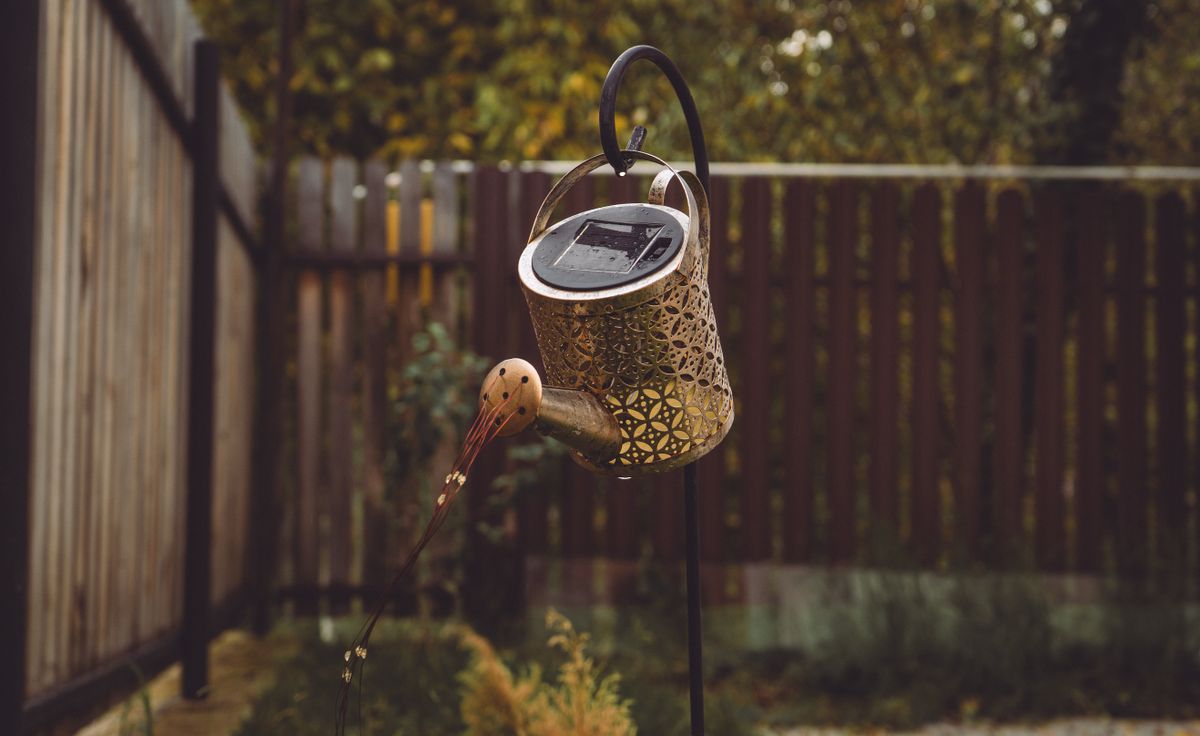
Photo by Gurgenidze G on Pexels
| Symptom | Probable Root Cause | Impact Level | Immediate Diagnostic & Repair Action |
| --- | --- | --- | --- |
| Light shuts off 2 to 3 hours after dusk | Heavy surface grime (pollen/dust) blocking photon absorption on poly-silicon cells | High (60–80% efficiency loss) | Wipe panel clean with a damp microfiber cloth and mild soap; avoid harsh chemicals. |
| Fixture dims severely before midnight | Continuous Mode 1 selection combined with short winter daylight hours | High (Depletes 2200mAh cell rapidly) | Toggle rear power switch to Mode 3 (Motion Sensor Mode: stays OFF until motion detected). |
| Light flickers rapidly or fails to activate | Partial shade from roof soffits, gutters, or growing tree branches between 10 AM and 2 PM | Medium (Prevents full charge cycle) | Relocate light bracket down or outward to achieve 6–8 hours of uninterrupted solar exposure. |
| Light stays off even after bright sunlight exposure | Water ingress through compromised IP65 seal or tripped dusk-to-dawn sensor | Critical (Hardware failure risk) | Inspect rubber gasket seal around battery housing; cover panel fully in darkness to test photo sensor. |
Identify your fixture's specific failure mode below to apply the correct fix immediately.
Expert Advice on Poly-Silicon Panel Efficiency
Never use household glass cleaners containing ammonia or acidic vinegar solutions on poly-silicon solar light panels. Standard solar fixtures feature an anti-reflective protective resin layer over the photovoltaic cells. Harsh solvents degrade this clear coat, creating micro-clouding that permanently scatters sunlight before it reaches the solar cells. Stick to distilled water or mild dish soap applied with a plush microfiber cloth.
5-Point Solar Light Diagnostic Checklist
- Check solar panel glass surface for grime, pollen, bird droppings, or mineral haze.
- Verify clear path to direct daylight between 10 AM and 4 PM (check for moving shadows from eaves or trees).
- Confirm lighting mode switch is toggled to Motion Sensor Mode (Mode 2 or Mode 3) rather than Continuous High Light (Mode 1).
- Test photo sensor by completely covering the solar panel with a dark cloth during daytime.
- Inspect housing body and rubber switch boot for compromised IP65 weather seals or moisture droplets.
3.7V/2200mAh Solar Battery Diagnostic Tree
- Does the solar light stay lit for less than 4 hours after a clear, sunny day? → Yes: Clean the panel, switch to Motion Mode (Mode 3), and observe for 2 consecutive days.. No: Fixture operating normally within standard solar charging baseline.
- Did the light runtime improve back to 8–10 hours after cleaning and mode switching? → Yes: Issue resolved. Set a recurring 3-week panel cleaning reminder.. No: Perform a manual battery retention test.
- Has the fixture completed over 500 charge cycles (approx. 1.5 to 2 years of daily use)? → Yes: The internal 3.7V 2200mAh cell has naturally degraded; replace battery cell or unit.. No: Inspect internal wiring and E26/E27 light bulb contact connections for corrosion.
Key Takeaways for All-Night Solar Illumination
- A thin film of airborne pollen or dust can cut solar energy collection by up to 60%, reducing an 8-10 hour runtime down to 2-3 hours.
- Poly-silicon solar panels require 6 to 8 hours of direct, unshaded sunlight to fully charge a 3.7V 2200mAh battery cell.
- Mode selection directly dictates battery longevity; Motion Sensor Mode (Mode 3) uses up to 80% less energy overnight than Continuous High Light Mode.
- Rain water leaves mineral spots that scatter light rays; routine manual wiping with microfiber cloth is necessary even in wet climates.
Recommended All-Weather Replacement Fixtures
If your current outdoor wall lights suffer from weathered panels or outdated battery architecture, consider upgrading to high-efficiency, weather-sealed fixtures designed for long-term outdoor reliability.
Should You Clean, Relocate, or Replace Your Light?
Determine whether your solar wall light runtime issue requires simple surface maintenance, seasonal repositioning, or fixture replacement.
Best choice for
- Panel Cleaning & Mode Adjustment — Airborne pollen or dust film reduces photon transmission into poly-silicon cells. Switching to Motion Sensor Mode balances energy consumption.
- Bracket Relocation — Poly-silicon panels in ambient shade require up to 10 hours to reach full charge, whereas unshaded installations charge in 6 hours.
- Avoid replacing the fixture if the panel surface is simply dirty, haze-covered, or set to high-drain continuous mode.
- Avoid using abrasive pads, steel wool, or glass cleaners containing ammonia or bleach.
- Upgrade to high-efficiency IP65 poly-silicon pack fixtures — If internal battery seals have degraded or glass resin is severely yellowed after multiple years of extreme exposure.
Panel Cleanliness Level vs. Daily Charge Percentage
| Panel Condition | Solar Absorption Loss | Daily Charge Output (3.7V/2200mAh) | Expected Nighttime Runtime |
| --- | --- | --- | --- |
| Pristine (Clean Microfiber Wash) | 0% | 100% Full Charge (6–8 hrs sun) | 8 to 10 Hours (Full Dusk-to-Dawn) |
| Light Airborne Dust / Pollen | 15% to 25% | 75–85% Capacity | 6 to 7 Hours |
| Heavy Soil / Water Mineral Film | 40% to 50% | 50–60% Capacity | 4 to 5 Hours |
| Caked Mud / Sap / Bird Droppings | 60% to 80% | 20–40% Capacity | 1 to 3 Hours (Premature Shutoff) |
This side-by-side impact matrix demonstrates how surface cleanliness directly affects solar energy intake, daily charge accumulation, and overall nighttime runtime.
Step-by-Step Guide to Cleaning & Re-aligning Poly-Silicon Panels
Follow these practical steps to restore your solar outdoor wall lights to peak daylight absorption.
Common Mistakes That Drain Solar Wall Light Batteries
Avoid these frequent maintenance and installation errors to ensure your solar wall lights perform reliably through every season.
Frequently Asked Questions
Answers to common homeowner questions regarding solar wall light maintenance, battery performance, and seasonal operation.
Immediate Action Steps to Restore Runtime
Your decision: Determine whether your early shutoff is caused by dirty panels, poor sunlight exposure, or mode selection.
Do this next: Wipe poly-silicon solar panels with a moist microfiber cloth today, verify 6-8 hours of direct sun exposure, and switch to motion-activation mode.
- Read next: How to Clean Solar Outdoor Wall Lights for Maximum Daily Charging Efficiency
- Read next: Why My Solar Outdoor Light Isn't Holding a Charge: Diagnosis & Fixes
Upgrade to the 4 Pack Solar Powered Porch Lights featuring high-efficiency poly-silicon panels, IP65 waterproofing, and 3 motion modes for dependable all-night security.
Take these simple steps today to resolve premature shutoff and enjoy reliable all-night security lighting.