
How to Maintain and Troubleshoot Solar Outdoor Wall Lights During Winter Storms
The 30/3 Rule dictates that at 32°F, high-efficiency poly-silicon solar panels lose up to 30% charging efficiency while lithium-ion batteries experience a 20–40% capacity drop. To restore non-working lights after a blizzard, clear panel snow with a soft microfiber cloth, thaw ice using lukewarm water, and toggle the power switch to Motion Sensor Mode (Mode 3) to minimize battery consumption during 14-hour winter nights.
Essential Winter Storm Survival Rules for Solar Wall Lights
- 30% Efficiency Loss: Sub-zero ambient temperatures reduce poly-silicon solar absorption and charging speed by 30%.
- 20–40% Battery Drop: Internal 3.7V 2200mAh lithium-ion batteries store 20–40% less total energy below 32°F due to slow chemical reaction rates.
- 80% Energy Savings in Mode 3: Switching from continuous dim illumination to Motion Sensor Mode reduces night-time energy draw by over 80%.
- 19-Foot PIR Lens Encrustation: Frost or snow buildup on the sensor lens degrades detection range from 19 feet down to under 5 feet.
- 6–8 Hours Direct Sunlight: Solar fixtures require 6 to 8 hours of clear solar exposure to yield 8 to 10 hours of overnight performance.
Winter Storm Pre-Prep & Post-Blizzard Action Checklist
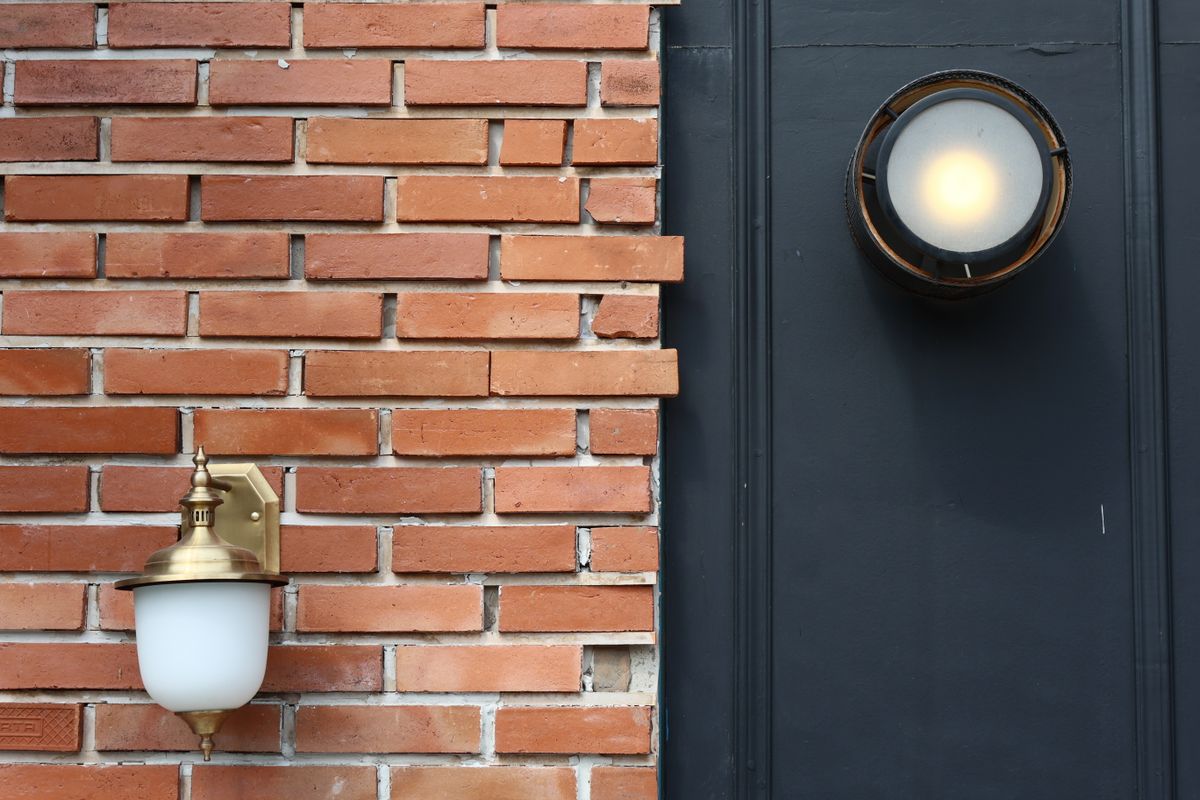
Photo by Bezalens JGP on Pexels
- Clear heavy snow build-up off poly-silicon panels within 12 hours of storm end using a soft microfiber cloth.
- Inspect IP65 housing seals and glass casing for micro-cracks caused by rapid ice expansion.
- Toggle mode switch to Motion Sensor Mode (Mode 3) to reduce continuous battery draw during 14-hour winter nights.
- Verify 19FT motion sensor lens is free of frost, dirt film, or ice encrustation.
- Ensure wall mount angle maximizes low-elevation winter sun exposure (south-facing wall recommended).
Printable Winter Storm Action Card
- Rule 1: Never use metal scrapers or vehicle ice scrapers on poly-silicon panels.
- Rule 2: Never pour boiling water on freezing fixtures (avoids thermal shock cracking IP65 seals).
- Rule 3: Set switch to Mode 3 (Motion Sensor Only) for 14-hour winter night endurance.
- Rule 4: Wipe panel with lukewarm water and microfiber cloth every 2 weeks or post-storm.
- Rule 5: Perform 24-hour indoor warmth reset if internal battery under-voltage protection trips.
Pro Tip: Resetting Tripped 3.7V 2200mAh Battery Protection Circuits
When sub-zero temperatures drop battery voltage below 2.4V, the integrated BMS (Battery Management System) disables current output to prevent cell damage. The fixture may appear completely broken. To fix this, dismount the light and keep it indoors at 68°F–72°F for 12 to 24 hours. Once warmed, reinstall the unit under direct daylight or a bench lamp to reset the safety circuit and restore normal charging without replacing the unit.
Winter Storm Solar Light Diagnostic Flowchart
- Is the solar wall light turning on at dusk? → Yes: Go to: Runtime Check. No: Is the poly-silicon panel covered in snow or heavy frost?.
- Is the poly-silicon panel covered in snow or heavy frost? → Yes: Clear snow with soft microfiber cloth & lukewarm water spray.. No: Has the fixture experienced temperatures below 0°F for over 48 hours?.
- Has the fixture experienced temperatures below 0°F for over 48 hours? → Yes: Perform 24-hour indoor warmth reset to reset battery low-voltage circuit.. No: Toggle main power switch through Mode 1-3 and test sensor in dark room..
- Runtime Check: Does light illuminate for less than 2 hours? → Yes: Switch active setting from Continuous Dim to Motion Sensor Mode (Mode 3).. No: Light is fully operational and configured correctly for winter..
Recommended Storm-Resistant Solar Wall Lighting
When upgrading outdoor perimeter lighting, choose weatherproof solar wall lights designed to handle extreme temperature fluctuations and heavy ice accumulation.
Side-by-Side Winter Solar Light Troubleshooting Matrix
| Symptom | Cold Weather Cause | Impact Level | Immediate Solution |
| --- | --- | --- | --- |
| Dead Light (No Output) | Snow layer blocking panel OR low-voltage protection triggered (<2.4V) | High (100% loss) | Clear snow with microfiber; perform 24-hour indoor warmth reset |
| Dim Light (<2 Hrs Runtime) | 4-6 hr sunlight + 30% panel efficiency drop + continuous lighting mode | Medium (75% loss) | Switch to Mode 3 (Motion Sensor Only); clear panel grime |
| Rapid Flickering | Battery output voltage fluctuating near cutoff threshold under heavy load | Medium (Intermittent) | Cycle power switch off/on; re-align panel toward south-facing sun |
| Reduced Sensor Range (<5FT) | Frost or ice film encrusting the 19FT PIR motion detector dome | Low-Medium | Wipe motion lens gently with 50/50 isopropyl alcohol and water |
Match your light's behavior with specific cold-weather root causes and immediate operational fixes.
Winter Weather Maintenance Cadence (November – March)
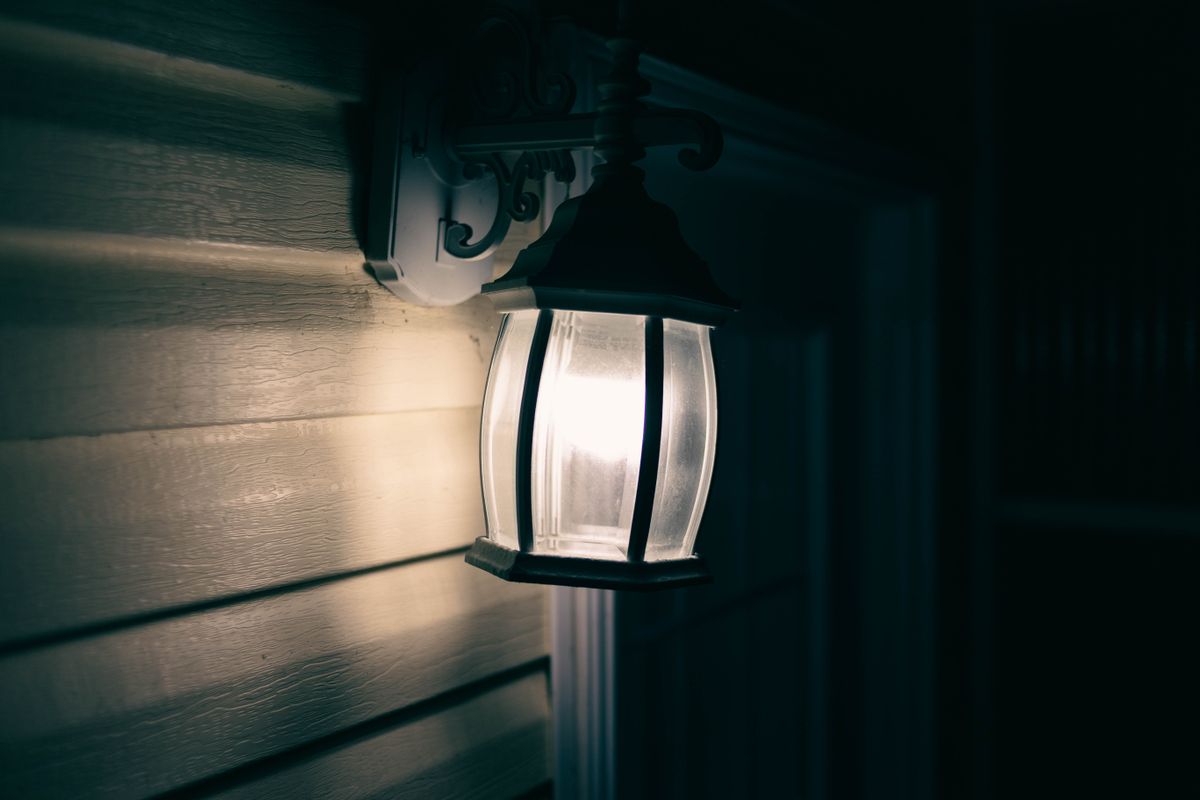
Photo by Erik Mclean on Pexels
- Early November (Pre-Winter Prep) — Clean poly-silicon solar panels, check IP65 rubber casing seals, and switch active mode to Motion Sensor Mode (Mode 3).
- Bi-Weekly (Dec – Feb) — Inspect panels for road salt dust, frost rings, or grime; wipe clean using a soft microfiber cloth dampened with lukewarm water.
- Within 12 Hours Post-Storm — Remove accumulated heavy snow cover from solar panels to capture immediate morning daylight.
- Late March (Spring Transition) — Audit housing for ice expansion hairline cracks; re-evaluate lighting modes as daylight hours increase.
5 Dangerous Winter Maintenance Mistakes to Avoid
Improper winter maintenance can permanently damage your solar panels and IP65 seals. Avoid these common pitfalls.
Post-Storm Battery Charge Recovery Timeline
- Hour 0 (Post-Storm Clearing) — Snow cleared off poly-silicon panel. Internal battery reserve at 0–10%; mode verified in Motion Sensor Mode.
- Hours 1–7 (Day 1 Winter Daylight) — Panel absorbs 6 hours of low-angle winter sun. Battery restores to 45–50% charge state (~1000–1100mAh).
- Night 1 (First Operating Dusk) — Fixture safely operates in Motion Sensor Mode, preserving core voltage without draining reserves.
- Hours 25–31 (Day 2 Winter Daylight) — Second 6-hour daylight cycle brings battery capacity to 90–100% (2200mAh).
- Night 2 Onward — Full 8–10 hour overnight illumination capability completely restored.
Frequently Asked Questions About Winter Solar Lighting
Next Steps for Winter-Proof Security Lighting
Your decision: Decide whether to reconfigure solar wall light settings to Motion Sensor mode or perform a bench-warm reset indoor charge cycle.
Do this next: Clear all snow and frost off poly-silicon panels using a microfiber cloth, then switch the fixture to 100% Motion Sensor Mode (Mode 3) to stretch battery life.
- Read next: How Do Solar Outdoor Wall Lights Perform in Snow and Freezing Winter Weather?
- Read next: How to Clean Solar Outdoor Wall Lights for Maximum Daily Charging Efficiency
Upgrade to high-efficiency IP65 Waterproof 4-Pack Solar Wall Lights featuring 2200mAh batteries for reliable all-winter motion detection.
Keep your home perimeter illuminated safely throughout the winter season by applying these quick maintenance steps.
Explore Related Weatherproof & Winter Lighting Guides
Link readers to complementary guides on IP65 weatherproofing, positioning, and cleaning.
Cover photo by suzukii xingfu on Pexels.