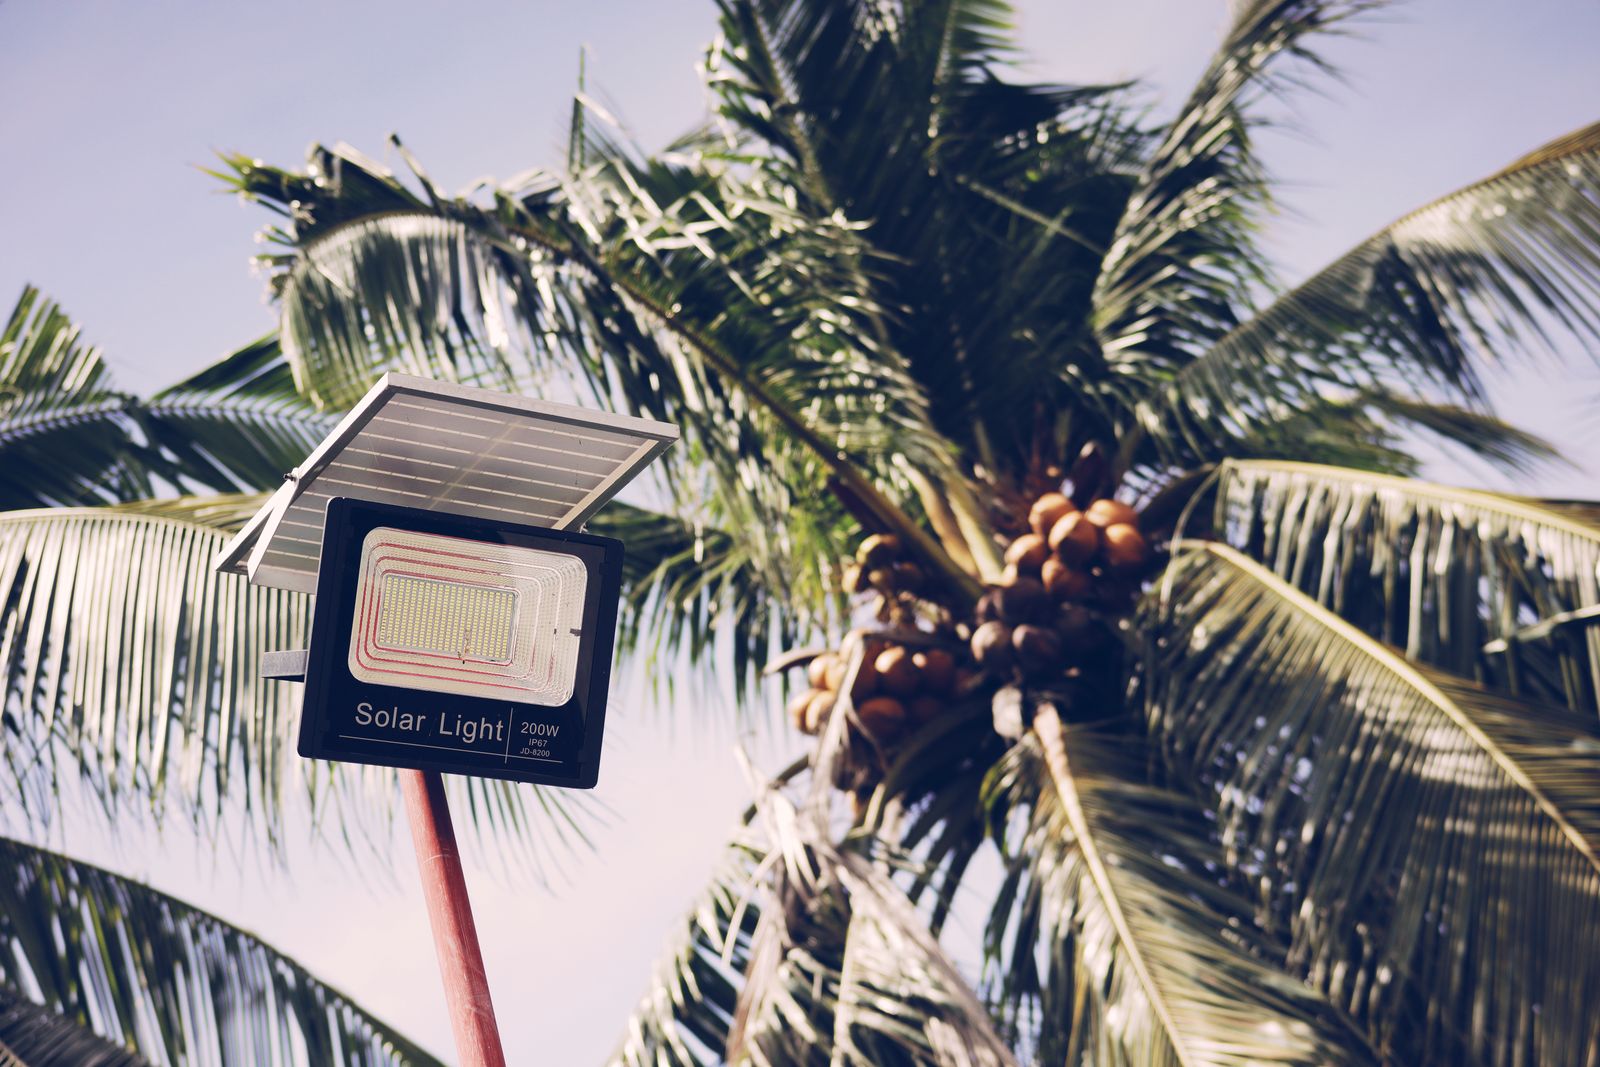
How to Optimize Solar Wall Light Motion Sensors: Sensitivity, Modes & 19FT Range Setup
To optimize your solar light motion sensor 3 modes, mount the fixture 6.5 to 8 feet high, angled perpendicular to walking paths. Press the back power switch once for Mode 1 (Off-to-Bright), twice for Mode 2 (Dim-to-Bright), and three times for Mode 3 (Constant Low Light).
Pre-Installation Sensor Setup Checklist
- Unpack the fixture and cover the poly-silicon solar panel with a dark cloth to simulate darkness.
- Press the back power switch once to verify light output and test PIR motion sensor trigger responsiveness.
- Charge the fixture in full direct sunlight for 6-8 hours before permanently screwing into wall studs.
- Verify mounting height is set between 6.5 ft and 8 ft above the finished ground level.
- Ensure clear line-of-sight without glass, thick foliage, or porch columns obscuring the 120-degree lens.
Step-by-Step Guide: Toggling Modes and Tuning the 19FT Detection Zone
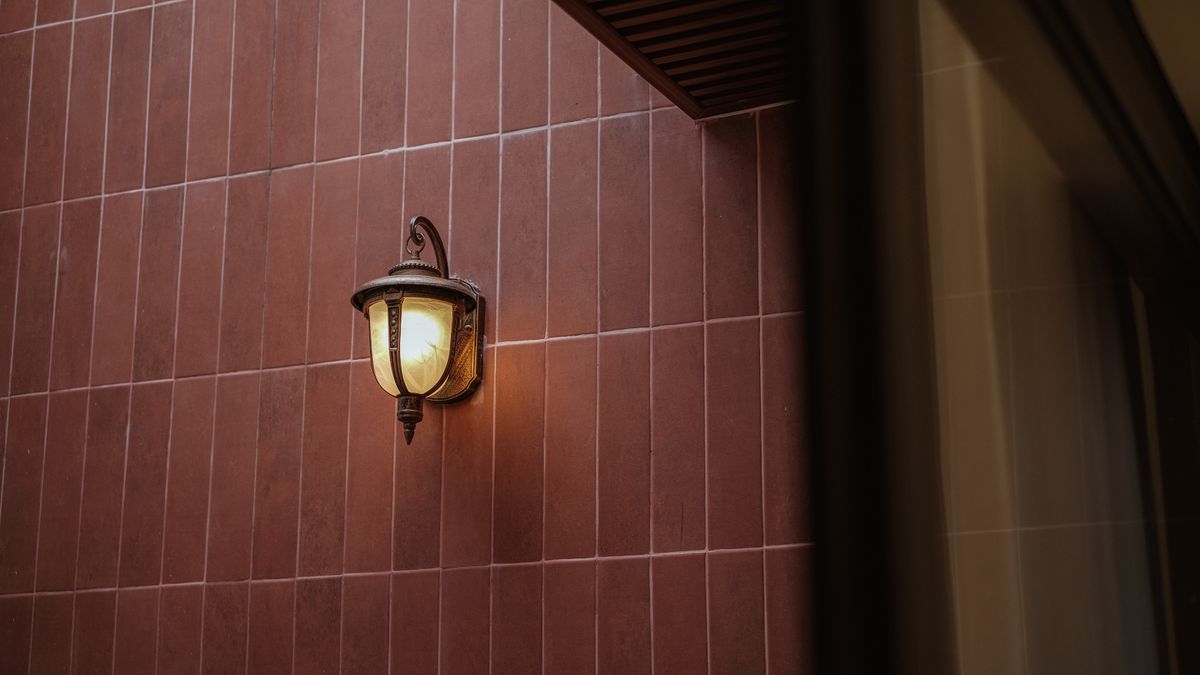
Photo by Pew Nguyen on Pexels
Follow these four steps to set up, calibrate, and select the correct motion sensor mode on your solar outdoor wall light.
Optimal Placement & Mode Recommendation by Area
Selecting the right mode depends on the exposure and security needs of each specific outdoor location around your property:
- Front Porches & Main Entryways: Use Mode 2 (Dim-to-Bright). Provides welcoming low ambient lighting that automatically brightens to full intensity when guests or delivery drivers approach.
- Side Yards & Dark Garage Pathways: Use Mode 1 (Off-to-Bright). Conserves 100% of battery power for high-intensity security illumination only when movement is detected within the 19FT reach.
- Backyard Patios & Deck Seating: Use Mode 3 (Constant Low Light). Delivers uninterrupted decorative illumination during evening social gatherings without pulsing when people move around.
Pro Tip: Passive Infrared (PIR) Motion Detection Orientation
PIR sensors react to changes in thermal energy moving across their detection segments rather than motion coming straight toward them. To maximize sensitivity across a 19-foot driveway or pathway, mount the solar wall light on a side wall where visitors cross the beam laterally, rather than directly at the far end of a long narrow hallway where approaching walking motion creates minimal infrared variation across the sensor grid.
Motion Sensor & Performance Troubleshooting Matrix
| Symptom | Root Cause | Diagnostic Check | Corrective Action |
| --- | --- | --- | --- |
| Light turns on constantly or pulses repeatedly | Thermal interference from HVAC exhaust vents, swaying branches, or street traffic | Check field of view for heat exhausts or moving tree limbs within 19FT zone | Re-angle light away from thermal drafts or trim branches intercepting the 120-degree arc |
| Sensor fails to trigger beyond 8 to 10 feet | Mounted higher than 8.5 feet, causing detection cone to overshoot target ground zone | Measure vertical mounting height from ground to center of PIR lens | Lower mounting bracket height to 6.5–8 feet to project the 120-degree beam effectively |
| Light does not illuminate after motion at night | Low battery state from shaded solar panel or switch inadvertently set to OFF position | Cover solar panel fully in daytime to check if light illuminates on button press | Reposition to a south-facing exterior surface with 6-8 hours of direct sun exposure |
| Motion sensor triggers during full daylight | Dust, mud, or shade covering solar panel, tricking daylight sensor into night mode | Inspect poly-silicon panel surface for debris or deep roof overhang shadows | Clean solar panel with a damp microfiber cloth and ensure unobstructed sky view |
Diagnose and resolve common solar motion sensor activation and range issues with this side-by-side technical guide.
Sensor Mode Selection Decision Tree
- Do you require continuous ambient lighting for decorative dusk-to-dawn illumination? → Yes: Go to Question 2. No: Select Mode 1 (Off-to-Bright on Motion). Ideal for dark perimeter security, maximum energy conservation, and rapid motion triggering within 19FT.
- Does the solar wall light location receive at least 6-8 hours of unshaded direct daily sunlight? → Yes: Select Mode 2 (Dim-to-Bright on Motion). Delivers continuous decorative ambient glow, surging to full intensity upon approach.. No: Select Mode 1 (Off-to-Bright). Shaded locations cannot fully recharge the 2200mAh battery for continuous evening glow; Mode 1 guarantees reliable nighttime illumination.
Featured Hardware: 4 Pack Solar Outdoor Wall Lights
Upgrade your exterior lighting without electrician costs or complex wiring. The 4 Pack Solar Outdoor Wall Lights combine an updated poly-silicon solar panel, IP65 waterproof build, single-button 3-mode operation, and a 19-foot PIR motion detection range for versatile home security.
Key Motion Sensor Setup Takeaways
- Mount fixtures between 6.5 and 8 feet above ground level for an exact 19-foot detection boundary.
- Single-button operation cycles: Mode 1 (Off-to-Bright), Mode 2 (Dim-to-Bright), Mode 3 (Constant Low Light), Mode 4 (OFF).
- Ensure poly-silicon panels receive 6-8 hours of direct daily sunlight to fully charge the 3.7V 2200mAh battery.
- Position fixtures lateral to key walking paths so motion crosses the 120-degree PIR sensor grid horizontally.
- IP65 waterproof rating protects optics against rain, snow, and extreme summer temperatures.
Visualizing the 19FT PIR Motion Detection Cone
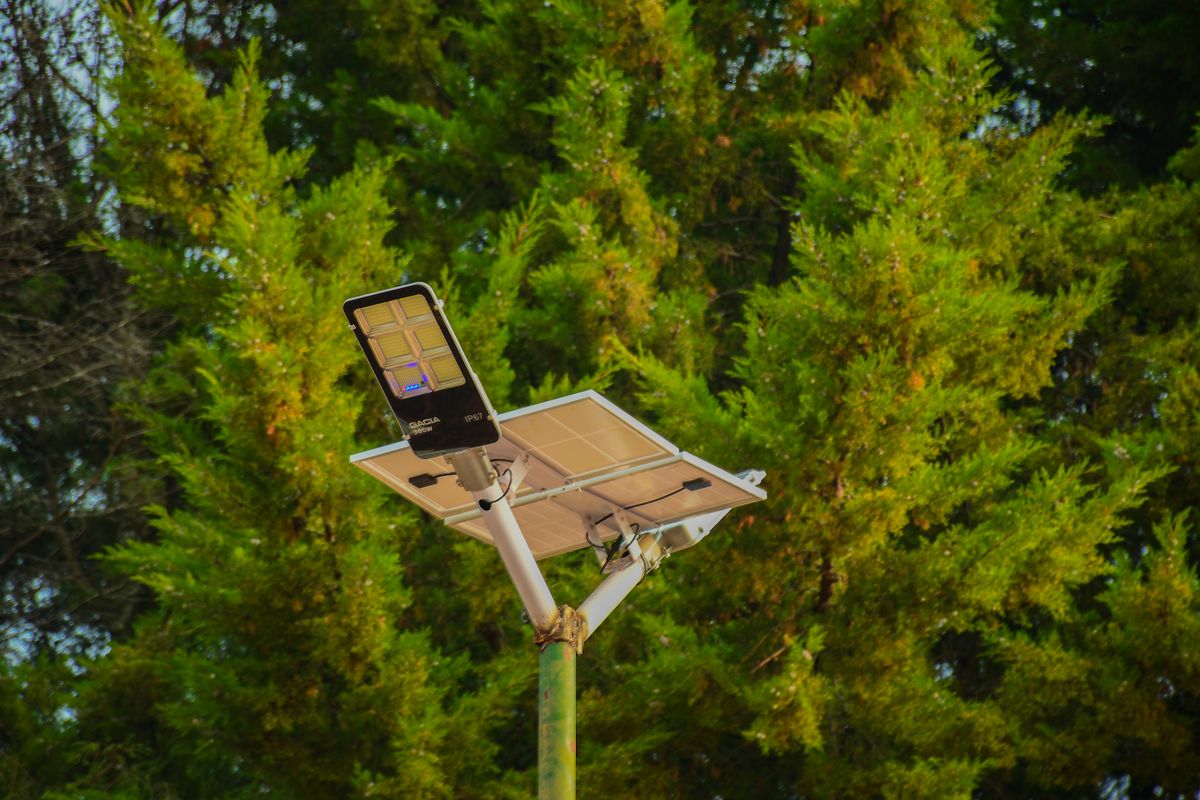
Photo by finix photographer on Pexels
Understanding how mounting height impacts sensor reach and field of view.
Common Motion Sensor Placement Mistakes to Avoid
Avoid these frequent installation errors to ensure maximum sensor accuracy and long battery runtime:
- Mounting Higher Than 9 Feet: Installing fixtures too high causes the 120-degree PIR cone to pass over human height, creating large dead spots under 10 feet.
- Facing HVAC Air Exhausts: Placing sensors opposite dryer vents or heat pumps triggers false alarms from warm air turbulence.
- Obstructing Solar Panel Exposure: Installing fixtures deep under broad soffits or porch roofs prevents poly-silicon panels from generating sufficient charge.
- Expecting Sensor Response Through Glass: Infrared heat signatures are blocked by glass; mounting lights inside window frames prevents outdoor motion triggering.
Battery Drain & Sensitivity Stabilization Timeline
- 0 to 8 Hours (Daytime) — Poly-silicon solar panel absorbs solar energy, fully charging the internal 3.7V/2200mAh battery.
- Dusk (Automatic Activation) — Built-in photo-sensor turns light on in selected Mode (1, 2, or 3) as ambient daylight falls.
- Hours 1 to 4 of Darkness — Peak evening activity period; high battery voltage supports immediate 100% brightness surges upon PIR motion activation.
- Hours 8 to 10 of Darkness — Sustained performance through morning twilight, maintaining motion sensor readiness or continuous dim glow until dawn daylight resets the cycle.
Frequently Asked Questions About Solar Light Motion Sensor Modes
Answers to technical questions regarding single-button mode toggles, detection range, and weather durability.
Action Plan: Final Testing and Maintenance Steps
Your decision: Determine whether your installation site requires maximum security (Mode 1) or continuous accent lighting (Mode 2/3).
Do this next: Mount the light fixture between 6.5 and 8 feet high on a south-facing exterior wall, then toggle the single back power switch to your target mode after charging for 8 hours.
Related resource: Download the PDF Installation & PIR Angle Reference Sheet
Upgrade entryways with the 4 Pack Solar Outdoor Wall Lights featuring 19FT Motion Sensors and Poly-silicon Solar Panels.
Complete your lighting setup with these final verification actions.