
Solar Light Hardware Troubleshooting: IP65 Seals, Mode Switches & PIR Sensors
Has your solar wall light stopped working after heavy rain or cold weather? Hardware failure in outdoor solar lights typically stems from three components: degraded IP65 rubber gaskets letting in moisture, oxidized 3-mode switch contacts blocking power flow, or an obscured optical Fresnel lens impairing the 19FT PIR motion sensor. Inspect seals for drying, flush switch contacts with electronic contact cleaner, and gently wipe sensor lenses with microfiber to restore full operation.
Solar Light Hardware Diagnostic Flowchart
- Is there visible water droplet condensation or fog behind the casing glass? → Yes: Perform the 24-hour dry-out protocol and apply dielectric silicone grease to IP65 seals.. No: Test tactile responsiveness of the power/mode switch..
- Is the 3-mode switch stiff, gritty, or failing to register mode changes? → Yes: Flush switch housing with quick-drying electronic contact cleaner and cycle 10 times.. No: Evaluate PIR motion sensor responsiveness..
- Is motion detection triggering randomly or failing to detect within 19FT? → Yes: Clean Fresnel acrylic lens with distilled water/microfiber and re-adjust mounting angle.. No: Inspect battery terminal connections or replace fixture if PCB is shorted..
Hardware Failure Modes & Solution Matrix
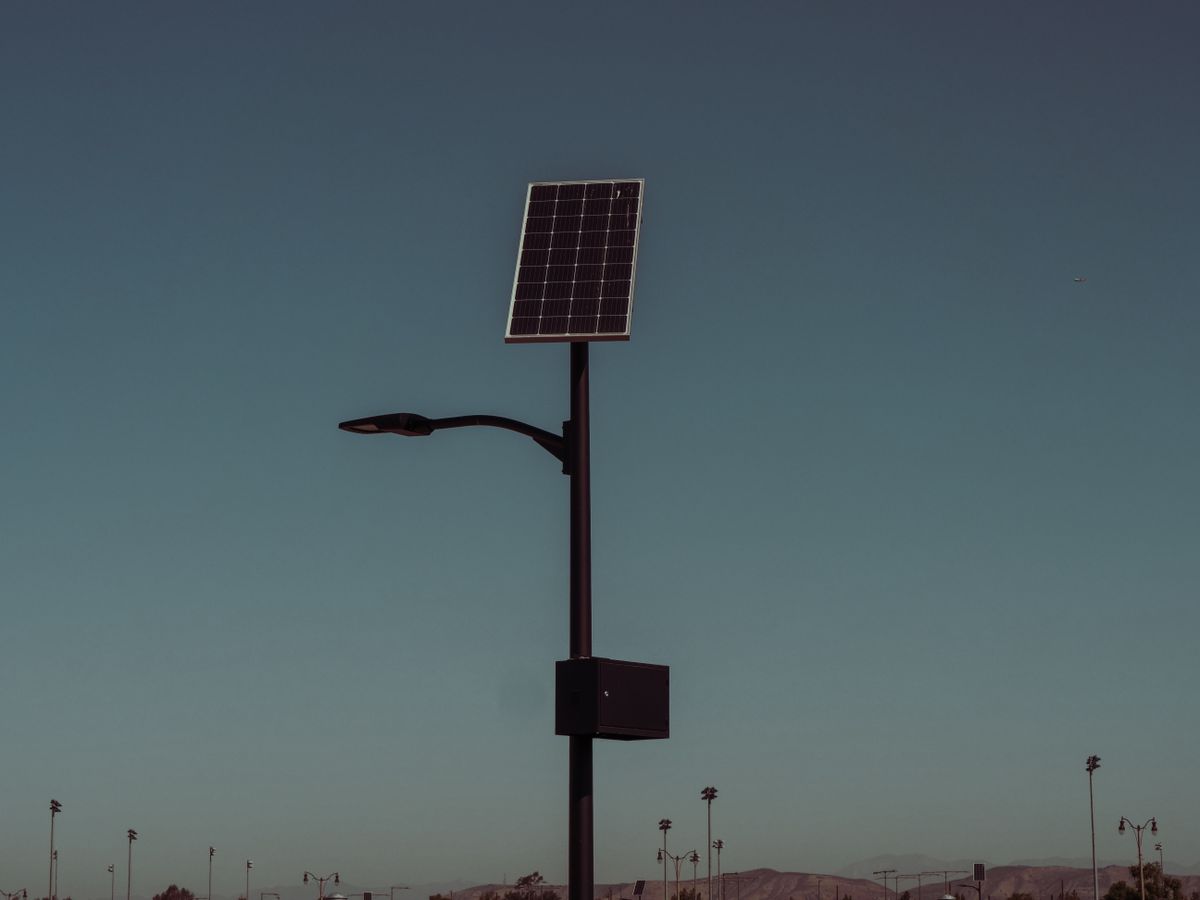
Photo by Kindel Media on Pexels
| Failure Mode | Component Affected | Root Physical Cause | Actionable Fix |
| --- | --- | --- | --- |
| Internal Water Condensation / Lens Fogging | IP65 Silicone Gasket & Housing Flange | UV dry-rot on synthetic rubber seals, loose housing screws, or clogged bottom weep holes | Disassemble housing, dry components for 24 hours with silica desiccant, coat gasket with dielectric silicone grease, and re-torque screws evenly. |
| Stuck, Gritty, or Non-Responsive Switch | 3-Mode Mechanical Toggle Switch | Atmospheric oxidation across internal copper switch contacts or dust/grit intrusion | Spray plastic-safe quick-drying electrical contact cleaner directly into switch gap; cycle switch 10 times. Avoid WD-40 or petroleum sprays. |
| Reduced Motion Sensitivity (<19FT Detection) | PIR Sensor Fresnel Lens Dome | Organic film accumulation, hard water stains, spider webs, or micro-scratches scattering IR light | Rinse grit with distilled water, then wipe lens gently with soft microfiber dipped in mild soap solution. Never use alcohol or acetone. |
| Erratic / Ghost Motion Triggers | PIR Motion Sensor Thermal Calibration | Thermal heat radiation from dryer vents, HVAC exhausts, or wind-blown sun-heated shrubbery | Re-angle wall mount downward or relocate light fixture away from heat exhaust sources within the 19FT 120-degree detection arc. |
Side-by-side comparison of primary outdoor hardware failure symptoms, component root causes, and practical repair actions.
Pro Tip: Extending Seal Elasticity & Restoring Switch Contacts
When servicing outdoor lighting, never apply WD-40 or petroleum lubricants to small mode toggle switches or rubber sealing rings. Petroleum solvents dissolve synthetic rubber IP65 seals over time and leave a sticky residue that attracts airborne dirt. Instead, treat rubber gaskets with 100% pure dielectric silicone grease to maintain elasticity under intense summer heat, and use quick-drying electrical contact cleaner to clear copper oxide off switch contacts without harming plastic components.
Bi-Annual Solar Light Hardware Checkup Checklist
- Inspect IP65 silicone/rubber gasket for hairline cracks, drying, or improper seating.
- Apply thin layer of dielectric silicone grease to housing rubber seals.
- Cycle the 3-mode toggle switch 5-10 times to clear minor surface oxidation on mechanical contacts.
- Flush toggle switch housing with quick-drying electrical contact cleaner if stiff.
- Inspect PIR motion sensor Fresnel lens for grime, spider webs, or UV clouding.
- Wipe PIR lens using a soft damp microfiber cloth (avoid isopropyl alcohol on acrylic lenses).
- Check drainage weep holes at the base of the fixture casing to ensure clear water outflow.
Exploded Hardware View: Seals, Switches, and PIR Sensors
Understanding the internal anatomical layout of your solar wall light helps you unbolt housings and clean contacts safely without breaking delicate mounting tabs.
Repair vs. Replace Decision Tree for Solar Fixture Hardware
- Is the main ABS plastic housing cracked or optical diffuser shattered? → Yes: Replace fixture. Cracks compromise IP65 water seal integrity beyond reliable repair.. No: Inspect internal circuit board for moisture damage.
- Is there extensive green corrosion on the internal circuit board or battery contacts? → Yes: Replace fixture. Circuit trace corrosion causes permanent voltage loss.. No: Check component serviceability.
- Are issues limited to a stiff switch, dirty PIR lens, or dried gasket seal? → Yes: Execute DIY maintenance (clean contacts, apply silicone grease, wipe lens).. No: Replace internal 3.7V/2200mAh battery cell.
Recommended Weatherproof Solar Outdoor Wall Lights
If water ingress has permanently ruined your internal circuitry, upgrade to durable, weather-tested fixtures designed for years of zero-electricity operation.
Next Steps for Solar Light Hardware Longevity
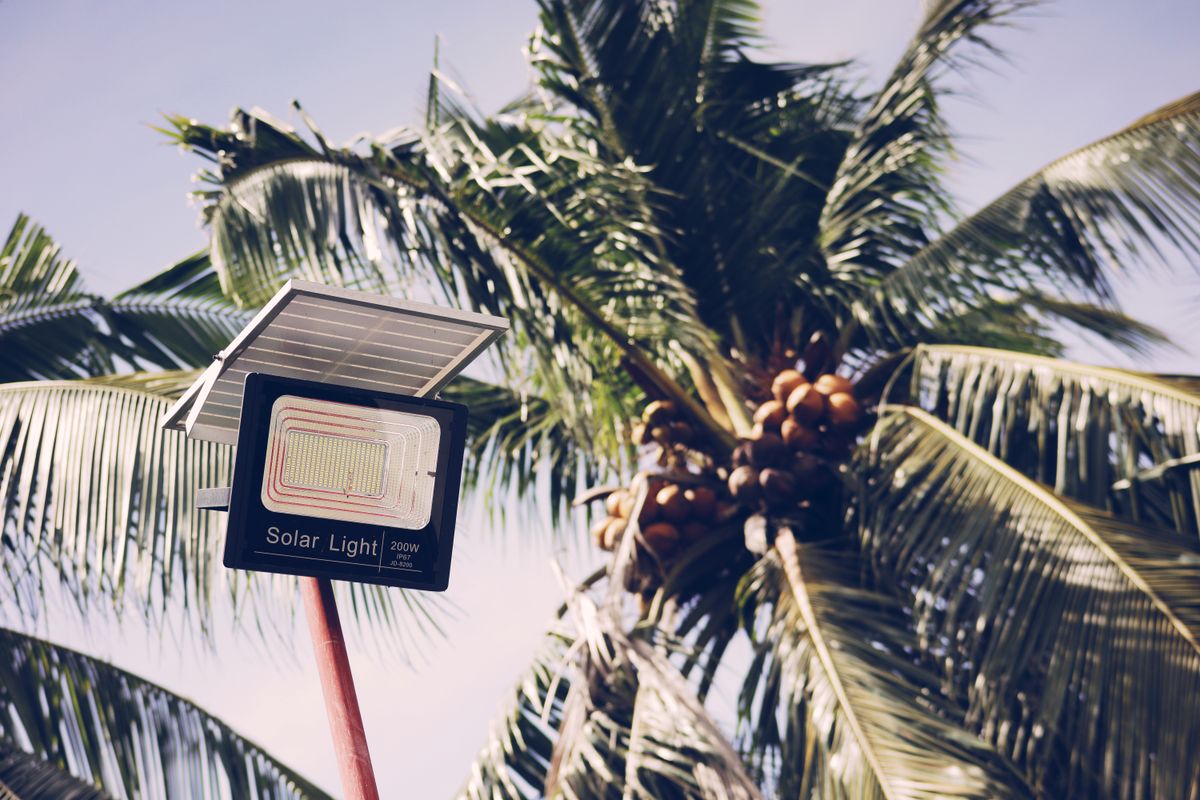
Photo by Nothing Ahead on Pexels
Detail logical follow-up actions and internal reading paths.
Key Takeaways: Essential Hardware Maintenance
Summarize core points into easy bullet notes.
Step-by-Step Hardware Restoration Protocol
Step-by-step physical repair procedures for sealing, switch cleaning, and optical polishing.
Common Mistakes in Solar Hardware Repair
Warn readers against improper solvents, high heat, or excessive torque.
Frequently Asked Hardware Maintenance Questions
Answer detailed hardware questions directly before related reading.