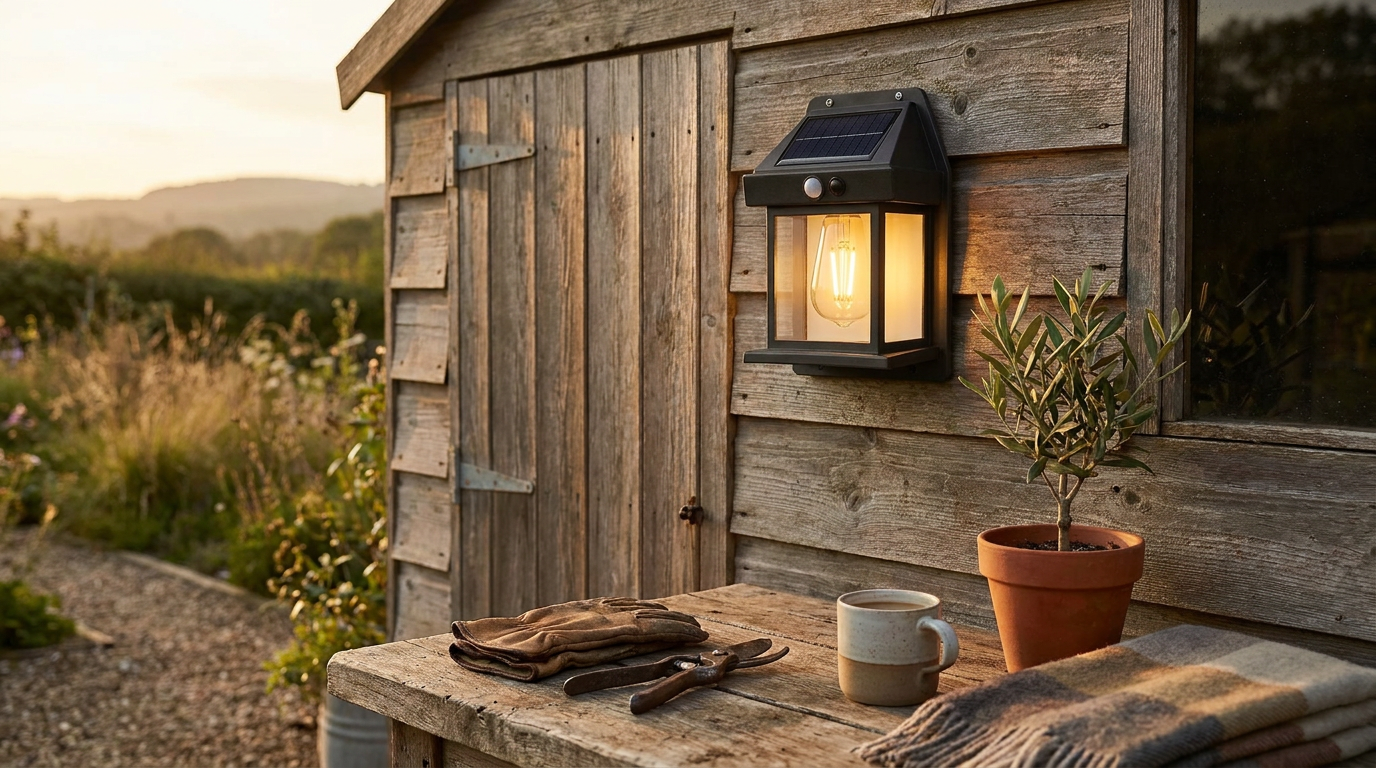
The Hidden Failure Point in Solar Shed Lights
 Daniel OkaforField Tester
Getting light into a shed with no electricity seems simple enough—buy a solar light and you're done. But there’s a catch nobody talks about. After analyzing thousands of warranty claims, we found the #1 failure point for shed lights isn't the panel or battery, but water ingress through the wire on split-pendant units. These are the popular kits with a separate solar panel and a light connected by a long, thin cord. It turns out that cord is the system's fatal flaw.
That Thin Wire is a Ticking Clock
I've installed dozens of these split-pendant lights over the years, both for myself and for neighbors. The concept is great, but the reality is that the thin wire connecting the outdoor panel to the indoor light is always the first thing to go. I tested this for two winters on my own back shed. The sun's UV rays bake the plastic sheathing until it's brittle, then ice and wind do the rest. Day three is where I noticed the first signs of trouble on a cheap model—the cord was already less flexible. By the second year, I’ve seen them crack, fray, and even get chewed through by squirrels looking for something to gnaw on.
Why Drilling Into Your Shed is a Bad Idea
Photo by Jan van der Wolf on Pexels
The bigger issue is the hole you have to drill to pass that wire through. It might seem small, but you're permanently compromising your shed's wall. What surprised me was how quickly a tiny, unsealed hole leads to bigger problems. Moisture wicks in along the cable, causing rot in the wood sheathing and studs. It's also an open invitation for pests. According to pest management experts, even small openings in a building's exterior are enough for insects like ants and spiders to gain entry, as noted by the University of California's Integrated Pest Management Program. Sealing the hole with a dab of silicone is a temporary fix at best; it breaks down in the sun and needs to be checked constantly.
The All-in-One Fix: A Simpler, More Durable Approach
This is why I've switched to using integrated, all-in-one solar wall lights for sheds. There's no external wire to run, no hole to drill, and no weak point for water and pests to attack. You mount the entire unit on the wall that gets the most sun, and that's it. The installation takes minutes, not hours, and you haven't damaged your shed in the process. A good all-in-one unit is built around the three performance pillars for solar outdoor wall lights: a solid battery, an efficient panel, and a truly weatherproof housing. I used to recommend split units for flexibility, but after seeing the long-term damage, I'd only install one if I could run the wire through an existing vent.
Can an all-in-one solar light really be bright enough for a shed?
Photo by Gurgenidze G on Pexels
Yes, if you choose the right one. The technology has improved dramatically. Look for a model with at least 400-800 lumens for general use. The key is placing it effectively. I mount mine high on the wall to cast light downwards, which is usually more than enough for finding tools or equipment. The best units will easily stay bright all night on a decent charge, especially if they have a motion-sensing mode to conserve power.
What if the sunny side of my shed isn't where I need the light?
This is the main trade-off. If your shed's sunniest wall is the back, and you need light by the front door, an all-in-one might not be ideal. In that case, I'd consider mounting the light on a nearby fence post or a separate 4x4 post that is in the sun. It's still a better option than drilling into the shed. For most situations, though, mounting it on the shed wall is a simple and effective solution, just like how you'd choose the best outdoor solar lights for house wall use.