How to Fix Dim Solar Wall Lights: Diagnostic & Maintenance Guide
Over 80% of dim solar wall lights are caused by micro-dust accumulation on the poly-silicon panel or an undercharged 3.7V 2200mAh lithium-ion battery. Cleaning the glass with warm water and a microfiber cloth, wiping the 19-foot PIR motion sensor lens, and performing a 48-hour power-off deep charge will restore standard 8-to-10-hour nightly operation after 6 to 8 hours of direct sunlight.
Key Diagnostic Takeaways
- 80% Fix Rate: Most dimness is caused by external debris on the poly-silicon panel rather than permanent fixture failure.
- 48-Hour Deep Charge: Turning the master switch OFF for 2 sunny days fully replenishes a drained 3.7V 2200mAh battery without load draw.
- 19-Foot Motion Range: Dirt on the PIR sensor dome prevents switching between ambient glow and full-brightness motion modes.
- IP65 Seal Verification: Moisture ingress past rubber weather gaskets can oxidize battery terminals and cause flickering.
- Zero Harsh Chemicals: Never use glass sprays or abrasives; mild soapy water preserves optical clarity and UV protective coatings.
Step-by-Step Solar Wall Light Repair Checklist
- 1. Clean poly-silicon solar panel surface with warm water and a microfiber cloth to remove pollen, sap, and micro-dust.
- 2. Clear physical obstructions (overhanging tree branches, gutter overhangs) blocking 6-8 hours of direct daily sunlight.
- 3. Wipe the 19FT PIR motion sensor lens clean of cobwebs and grime to ensure proper 3-mode switching response.
- 4. Perform a 48-hour deep charge by toggling the power switch to OFF for 2 full sunny days (12-16 solar hours).
- 5. Inspect the IP65 waterproof housing, rubber seals, and battery compartment for water entry or terminal oxidation.
- 6. Test internal 3.7V 2200mAh battery voltage or replace the LED bulb in the E26/E27 base if light output stays below 50%.
Quick Reference Care & Fix Sheet
- Clean panels every 30-90 days using soft cloth + mild soapy water only.
- Execute a 48-hour switch-OFF charge every spring and autumn to calibrate battery reserves.
- Inspect IP65 weather gaskets for crackling or misalignment after severe freeze-thaw cycles.
- Maintain a clear 19-foot line-of-sight around motion sensors for seamless mode transitions.
- Verify the master mode switch is toggled firmly into Mode 1, 2, or 3 rather than stuck between detents.
Pro Tip: Deep-Charging Solar Wall Batteries
When a solar wall light shines for only 1 or 2 hours, the 3.7V 2200mAh battery has likely entered a deep-discharge state. To execute a hard reset: turn the switch OFF and leave the unit under direct sunlight for 2 full sunny days (12-16 total sun hours). Keeping the power switch OFF disables the LED draw at night, allowing 100% of the energy captured by the poly-silicon panel to replenish the internal battery cell to maximum capacity.
Side-by-Side Solar Light Diagnostic Matrix
| Observed Symptom | Hardware Cause | Technical Detail | Recommended Fix |
| --- | --- | --- | --- |
| Dim illumination after 1-2 hours of operation | Depleted 3.7V 2200mAh battery | Poly-silicon panel obstructed by pollen or dust, yielding less than 6 hours of effective solar input | Wipe panel clean with microfiber cloth; execute 48-hour power-off deep charge |
| Light flickers rapidly when motion is detected | Corroded battery contact terminals | Water breached IP65 housing seal or rubber gasket, oxidizing the electrical connections | Open casing, clean terminals with fine steel wool/contact cleaner, inspect gasket seal |
| Light stays in low ambient mode, ignoring motion | Soiled 19-foot PIR sensor lens | Cobwebs or dust block infrared signal detection, keeping unit locked in dim dusk-to-dawn mode | Clean motion sensor dome with damp cloth; cycle mode switch between 3 lighting modes |
| Zero light output after dusk | Mode switch in OFF position or blown E26/E27 bulb | Master toggle switch bumped or internal bulb loosened during high-wind storms | Verify switch position; unscrew E26/E27 light base, check bulb contact points and re-seat |
Compare your light's behavior with known hardware causes and targeted solutions below.
Recommended Supplies & Replacement Upgrades
If your existing exterior fixtures show irreversible plastic clouding or compromised internal electronics, upgrading to modern IP65 weather-rated units with efficient poly-silicon panels ensures long-term reliability.
Need to replace an older, unfixable fixture? Upgrade your home exterior with our 4-Pack Solar Outdoor Wall Lights featuring high-efficiency poly-silicon solar panels, IP65 waterproofing, and dusk-to-dawn performance.
Seasonal Maintenance Schedule for Solar Wall Lights
- Spring (March - April) — Wash poly-silicon solar panels to remove winter salt and tree pollen accumulation. Trim back tree canopy branches that block direct sunlight.
- Summer (June - July) — Check 19-foot motion sensor lenses for spiderwebs and insect nests. Perform a 48-hour deep charge reset during midsummer peak solar days.
- Fall (September - October) — Clear fallen leaves and windblown debris from top fixture housings. Inspect IP65 rubber weather gaskets before winter moisture sets in.
- Winter (December - January) — Gently sweep away snow and frost buildup from panel surfaces using a soft brush. Adjust lighting mode to motion-activation to preserve power during shorter days.
5 Cleaning & Repair Mistakes That Cause Solar Lights to Stay Dim
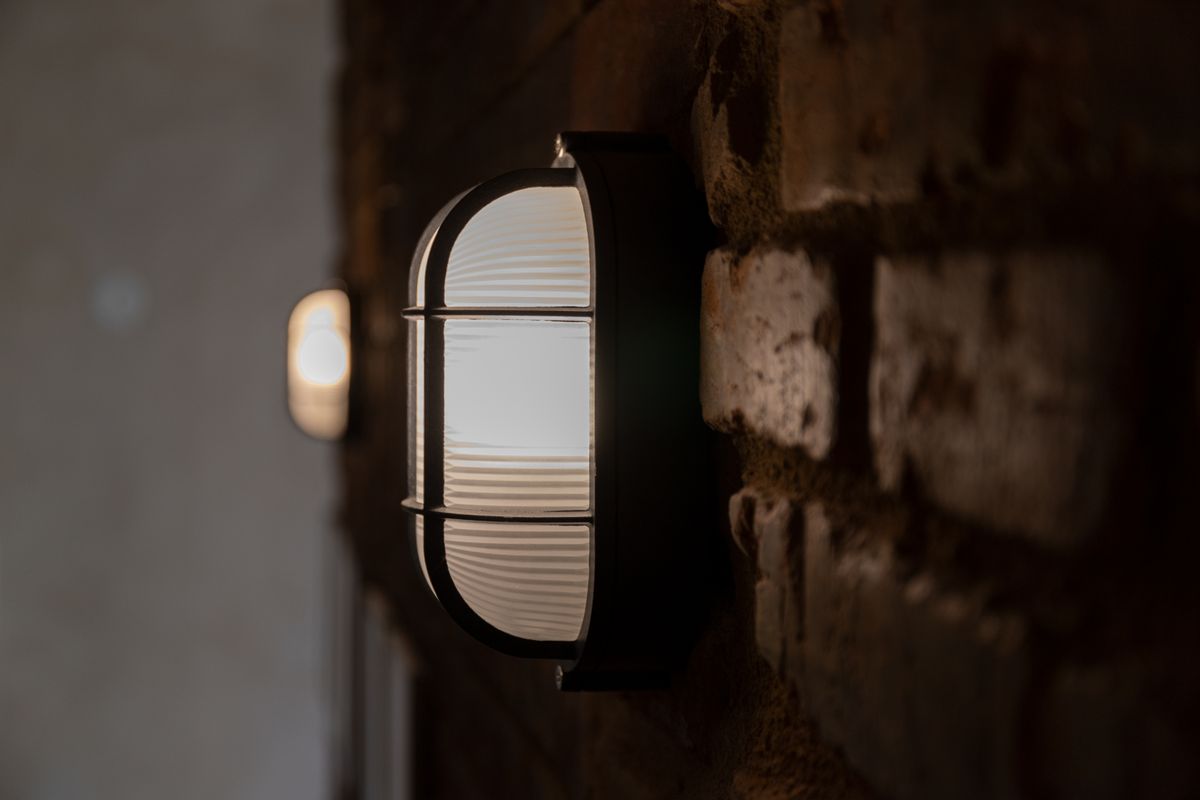
Photo by Alan Kabeš on Pexels
Avoid these standard maintenance errors that damage internal electronics and surface optics:
Component Lifespan & Replacement Timeline
- Years 1 - 2 — Poly-silicon panel operates at 95%+ photon conversion efficiency. Regular microfiber cleaning maintains maximum 6-to-8-hour charge cycles.
- Years 2 - 3 — 3.7V 2200mAh lithium-ion battery capacity gradually declines to ~75-80%. Execute 48-hour deep charges twice yearly to preserve cell integrity.
- Years 3 - 5 — Battery cell may require replacement. Inspect IP65 rubber weather gaskets for brittleness and check E26/E27 bulb contacts for tension.
- Year 5+ — Poly-silicon anti-glare coatings may show surface wear. Replace the complete fixture set to access updated photovoltaic and PIR sensor technology.
Frequently Asked Questions
Answers to common technical troubleshooting questions regarding solar wall lights.
Immediate Diagnostic Action Steps
Your decision: Determine whether your solar light requires a simple 2-minute surface cleaning, a 48-hour battery reset charge, or an internal cell replacement based on the diagnostic matrix.
Do this next: Execute the 48-hour deep charge test: toggle the power switch OFF, allow the poly-silicon panel to absorb 2 full days of direct sun (12-16 total hours), and test night runtime in motion-sensor mode.
Related resource: Downloadable Outdoor Lighting Maintenance Checklist PDF
If internal circuits show severe moisture damage or battery degradation, upgrade your porch and pathway lighting with our durable 4-Pack Solar Outdoor Wall Lights featuring IP65 waterproof casing and high-efficiency poly-silicon panels.
Execute the following steps today to restore your outdoor lighting.