
How to Install Wireless Outdoor Solar Wall Lights on Patio and Porch Walls
Installing exterior solar lighting is a straightforward DIY task that eliminates the electrical wiring required by traditional light fixtures. For a broader look at selecting optimal solar wall configurations, refer back to the main guide. Follow these steps to secure your wireless fixtures to porch, patio, garage, or garden walls.
Step 1: Unpack and Select Mounting Location
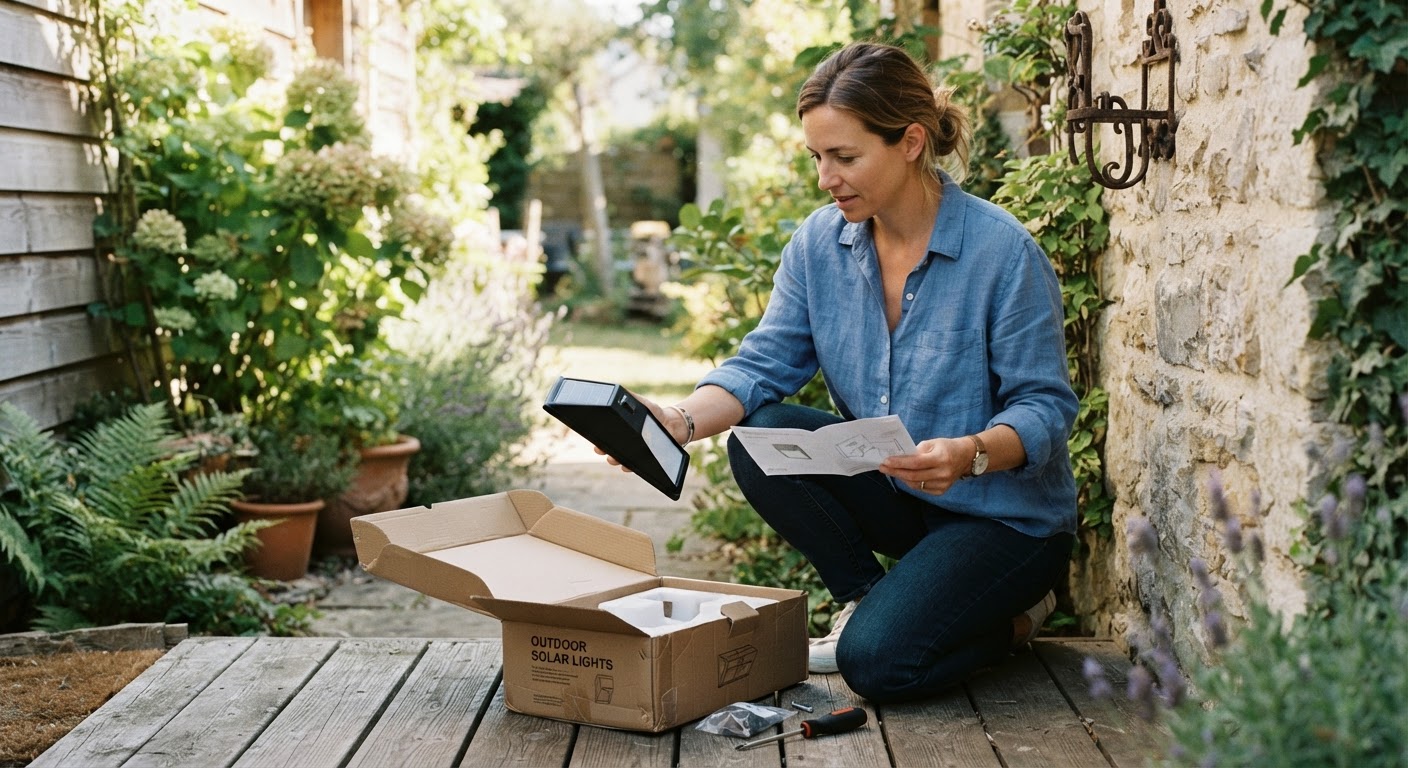
Begin by unboxing your Solar Outdoor Wall Lights set and verifying that all installation components are present. Select an exterior mounting location on a wall, deck, or porch post that receives unobstructed direct solar radiation for 6-8 hours daily.
Ensure that the chosen location exposes the High efficient Poly-silicon Solar Panel to direct sunlight while orienting the motion sensor towards intended approach pathways. Before drilling anything, spend a day watching how sun and shade move across the wall. A spot that looks bright at noon can sit in shadow from a tree, a fence, or a roof overhang for most of the afternoon, and that lost time shows up later as shorter run time after dark. South-facing walls generally collect the most daylight, while walls shaded by neighboring buildings are the weakest choice even when they are the easiest to reach.
Think about what the light needs to reach as well. Doorways, garage entries, gates, and the first few steps of a pathway are the places where light does the most work, both for security and for avoiding a stumble. Because each fixture is wireless, nothing about the layout depends on where existing wiring happens to run, so the position can serve the space rather than the circuit.
Step 2: Position and Mark the Mounting Anchor Points
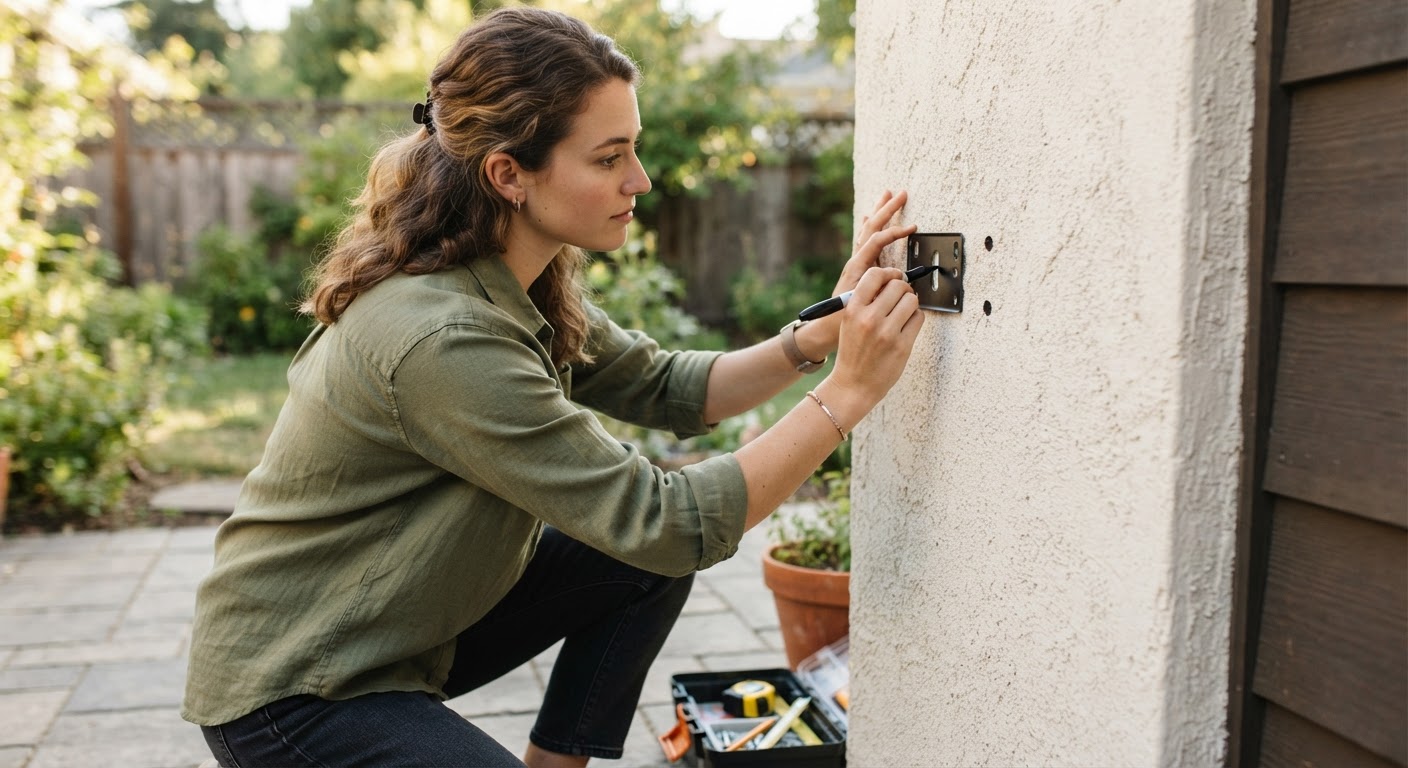
Hold the fixture housing—which weighs approximately 12-16 oz in its Black finish frame—against the wall at the desired installation height. A recommended mounting height is 6 to 8 feet above the ground to optimize the 19FT Induction distance of the motion sensor.
Use a pencil or marker to indicate the mounting hole positions directly onto the wall surface. A level is worth using here even on a short install. Two fixtures flanking a door will read as crooked to the eye if either sits a fraction off, and once the anchors are set, correcting the angle means fresh holes. Hold the housing in place, mark both hole positions, then step back several feet and check the marks against a door frame or a siding line before committing.
Height changes what the sensor covers. Mounted lower, the detection field reaches farther out along the ground but picks up more passing traffic; mounted higher, it looks down over a tighter area closer to the wall. On a narrow porch, a slightly lower position keeps the field on the walkway, while an open driveway wall usually suits the upper end of the recommended range.
Step 3: Fasten Screws and Wall Anchors
Drill pilot holes into the marked locations on the wall surface. Insert the provided Screws and wall anchors into the pilot holes until they sit flush with the wall surface.
Align the mounting brackets of the fixture with the wall anchors, then drive the screws firmly into place to secure the fixture against winds and weather. Match the anchor to the wall material. Wood and vinyl siding take screws readily, while brick, stucco, and concrete need a masonry bit and firm seating of the anchor before the screw goes in. Drill slowly and let the bit clear its own dust rather than forcing it, which keeps the hole tight enough for the anchor to grip properly.
Tighten until the housing is snug, then stop. Overtightening can distort a light frame and open a gap at the seal, which is the last thing an outdoor fixture needs. At this fixture weight, two well-seated anchors hold securely, and a firm tug tells you whether the mount will survive wind and weather.
Step 4: Configure Lighting Modes and Test Sensor
Locate the power switch on the fixture housing. Cycle through the 3 Lighting Modes with Motion Sensor features to select your preferred setting, such as motion detection or flicker modes.
Allow the integrated 3.7V/2200mAH Battery to charge in direct sunlight over a full daylight cycle. Verify dusk activation and motion detection once ambient light levels drop.
Read the full guide: Ultimate Guide to Choosing the Best Solar Wall Lights with Motion Sensors
Give the set a full charge cycle before judging performance. A fixture installed in the late afternoon has only collected an hour or two of daylight, so a short or dim first night is normal rather than a fault. After one complete day in the sun, run time should settle into its usual pattern.
Testing the sensor is easiest with two people, one walking the approach path while the other watches for the moment the light responds. Walk in from the side as well as head-on, since motion crossing the field is usually picked up sooner than motion moving straight toward the fixture. If a light triggers more often than expected, a small change of angle away from the street, a swaying branch, or a neighbor's driveway is usually the cause.