
Porch vs. Garage Solar Light Mounting Height: Optimal Placement Guide
Should you mount your solar wall lights at 6 feet or 7.5 feet? Mount garage solar lights at 6.5 to 7.5 feet to maximize the 19-foot motion sensor detection arc across vehicle driveways. Mount porch solar lights slightly lower at 6.0 to 6.5 feet to provide glare-free keyhole visibility while keeping the poly-silicon solar panel at least 6 inches below roof eave shadows for optimal 6–8 hour solar charging.
Porch vs. Garage Mounting Height Matrix
| Installation Scenario | Optimal Height Range | Minimum Eave Clearance | Effective Motion Range | Recommended Lighting Mode |
| --- | --- | --- | --- | --- |
| Garage Outer Flanks (Driveway Security) | 7.0 ft – 7.5 ft | 6 to 8 inches | 16 ft – 19 ft sweep | Mode 1 (Full Brightness Motion Sensor) |
| Above Garage Door Header | 7.5 ft – 8.0 ft | 8 to 12 inches | 12 ft – 15 ft sweep | Mode 1 (Full Brightness Motion Sensor) |
| Front Porch Doorway (Entry Lighting) | 6.0 ft – 6.5 ft | 6 inches | 10 ft – 14 ft sweep | Mode 2 or 3 (Dim-to-Bright or Dusk-to-Dawn) |
| Covered Deck & Patio Perimeter | 6.0 ft – 6.5 ft | 8 inches | 12 ft – 16 ft sweep | Mode 3 (Continuous Ambient Illumination) |
Compare mounting parameters across key outdoor locations to ensure full 19FT sensor sweep and continuous 8–10 hour nocturnal illumination.
High Mounting (7.5+ FT) vs. Low/Mid Mounting (6.0–6.5 FT)
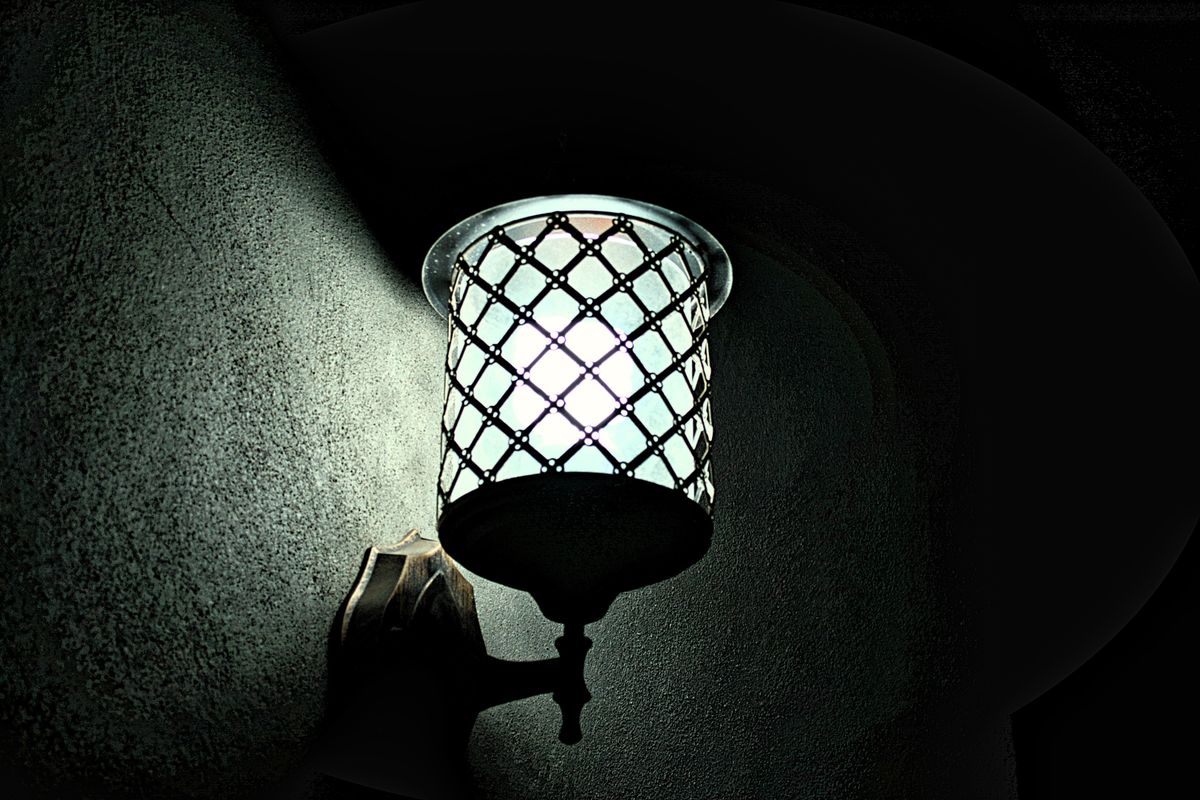
Photo by takenbytablo on Pexels
Pros
- High Mounting (7.5+ FT): Maximizes overall motion sensor cone breadth (up to 19FT broad detection arc across driveways).
- High Mounting (7.5+ FT): Elevates fixtures out of direct physical reach and accidental collision paths.
- Low/Mid Mounting (6.0–6.5 FT): Prevents roof eave shadows from blocking the 6–8 hours of direct sun required by top solar panels.
- Low/Mid Mounting (6.0–6.5 FT): Concentrates lumen output at keyhole level without creating harsh downward facial shadows or glare.
- High Mounting (7.5+ FT): High installation increases risk of roof overhang eaves shading the solar panel during peak midday sun hours.
- High Mounting (7.5+ FT): Small animals or low-profile vehicles may pass underneath narrow sensor dead zones directly at wall base.
- Low/Mid Mounting (6.0–6.5 FT): Slightly compresses the forward reach of the 19FT motion detection sensor.
- Low/Mid Mounting (6.0–6.5 FT): Vulnerable to physical impact from large garden equipment or tall shoulder bags.
Top Installation Failure Modes: Why Solar Motion Lights Fail
Avoid these critical installation mistakes that lead to premature battery drain, dead zones, and blinding glare.
Placement Decision Tree: Finding Your Perfect Height
- Are you mounting on a garage flank or driveway wall? → Yes: Check roof eave overhang depth.. No: Go to Porch & Entryway path.
- Is the garage roof overhang depth greater than 8 inches? → Yes: Mount fixture at 7.0 ft with at least 8 inches vertical drop below the soffit edge.. No: Mount fixture at 7.5 ft for maximum 19FT motion sensor detection arc.
- Are you mounting beside a front entry porch door? → Yes: Check door header clearance.. No: For side pathways/decks, mount at 6.0 ft to 6.5 ft.
- Does the porch roof cast a shadow on the mounting wall at 12:00 PM? → Yes: Drop fixture height to 6.0 ft or shift horizontally outward by 12 inches to catch direct sun rays.. No: Mount fixture at standard 6.5 ft eye-level clearance.
Actionable Next Steps for Installation
Your decision: Determine whether your primary installation goal is wide driveway security (garage) or entryway visibility (porch), and measure your roof eave overhang depth.
Do this next: Mark mounting points at 7.0–7.5 feet on garage sides or 6.0–6.5 feet beside porch doors, ensuring a minimum 6-inch drop below deep roof soffits.
- Read next: How to Position Solar Motion Sensor Lights for Maximum Security Coverage
Deploy the High-Efficiency 4-Pack Solar Motion Wall Lights (2 for garage flanks, 2 for porch entryways) for total IP65 waterproof perimeter illumination.
Follow these immediate action steps to measure, test, and mount your solar wall light pack safely.
Key Placement Takeaways
Keep these core height and solar exposure rules top of mind during exterior mounting.
Printable Weekend Installation Cheat Sheet
- Garage Side Height: 7.0 ft – 7.5 ft from ground to center of wall bracket.
- Porch Door Height: 6.0 ft – 6.5 ft from porch deck to center of wall bracket.
- Eave Drop Clearance Rule: Minimum 6 inches of unshaded vertical wall space below soffit edge.
- Solar Charging Benchmark: 6–8 hours of direct, unshaded sunlight yields 8–10 hours of illumination.
- Motion Detection Range: 19-foot maximum detection distance at standard 120-degree sensor cone.
- Pre-Mounting Step: Set the 3-mode switch to desired operational mode (Motion / Dim / Dusk-to-Dawn) before driving screws.
Visual Specification: Motion Detection Cone & Eave Shadow Clearance
Technical visual blueprint detailing the sensor geometry and solar exposure angles.
Solar Light Mounting Height & Placement Calculator Specifications
Calculates precise height adjustments and eave drops based on architectural dimensions.
Decision Support: Porch Doorway vs. Garage Driveway Optimization

Photo by Mehmet Kaya on Pexels
Mount garage solar motion lights at 6.5–7.5 feet for wide 19FT driveway coverage; mount porch lights at 6.0–6.5 feet near doorways to balance ambient illumination and eye-level comfort.
Best choice for
- 7.0 to 7.5 feet on outer garage frame — Maximizes the 19FT induction distance across the entire driveway approach without blind spots.
- 6.0 to 6.5 feet beside door casing — Provides glare-free keyhole visibility while ensuring solar panels maintain 6 inches of eave shadow clearance.
- Mounting above 8.5 feet (causes motion sensors to overshoot vehicles and pedestrians beneath the 19FT zone).
- Mounting directly under a 12-inch or deeper roof eave without at least 6 inches of vertical clearance (blocks required 6-8 hours of direct sunlight).
- Corner Wall Mount at 7.0 Feet — Allows simultaneous coverage of side pathways and driveway approaches when central garage header is shaded.
Recommended Hardware: High-Efficiency 4-Pack Solar Motion Wall Lights
The ideal all-in-one wireless solution for dual porch and garage exterior lighting.
Real-World Installation Scenarios: 4-Pack Layout Planning
Two-Car Garage Flanks + Front Porch + Back Patio — Install Fixtures 1 & 2 at 7.2 ft on outer left and right garage frame walls (Mode 1 - Motion Sensor). Install Fixture 3 at 6.3 ft beside front door casing (Mode 2 - Dim to Bright). Install Fixture 4 at 6.5 ft on back patio wall (Mode 3 - Dusk to Dawn continuous ambient).
Single Garage Door + Long Side Pathway + Front Porch — Install Fixture 1 at 7.5 ft above garage header (Mode 1). Install Fixtures 2 & 3 along side pathway brick wall at 6.5 ft spaced 12 ft apart (Mode 2). Install Fixture 4 at 6.0 ft on porch entry post (Mode 2).
How to distribute a single 4-pack solar light kit across a standard suburban home layout.
Mounting outdoor solar wall lights requires balancing two distinct spatial requirements: optimizing the angle of top-mounted solar panels for energy absorption and positioning the passive infrared (PIR) motion sensor for maximum peripheral pickup.
The Physics of Poly-Silicon Solar Absorption
Each fixture relies on a high-efficiency Poly-silicon solar panel coupled with an internal 3.7V/2200mAH rechargeable battery. To generate full nocturnal runtime (8 to 10 hours of continuous operation), the panel must absorb 6 to 8 hours of direct daylight.
Architectural roof overhangs and deep eaves (soffits) cast sharp shadows down exterior walls. During high summer midday hours, solar rays hit walls at vertical angles between 60° and 75°. A standard 12-inch soffit casts a shadow extending 18 to 24 inches down the wall surface. If a solar wall light is installed directly under the eave, its top-mounted panel receives only indirect ambient shade daylight, cutting charging efficiency by up to 70%.
To ensure consistent power absorption, apply the Eave Clearance Rule: drop the mounting backplate down the wall by at least 6 to 8 inches for standard 6-inch overhangs, and 10 to 12 inches for deep 12-inch soffits.
Motion Sensor Detection Trigonometry
The PIR motion sensor embedded within these fixtures features a 19-foot induction distance operating across a 120-degree detection cone. The mounting height directly governs the ground surface area covered by this detection field.
- At 6.0 Feet Mounting Height: The sensor centerline intersects the ground plane approximately 12 to 14 feet forward from the wall, creating an ideal trigger point for walking pedestrians.
- At 7.5 Feet Mounting Height: The sensor projection extends to its maximum 19-foot reach, catching approaching automobiles on driveways as soon as the front bumper crosses the induction boundary.
- Above 8.5 Feet Mounting Height: The sensor angle shoots over standard vehicle hood levels (typically 3 to 4 feet off the ground) and human torsos, creating a dead zone extending 6 to 8 feet out from the foundation wall.
Weatherproofing and Material Factors
Featuring an IP65 waterproof and heatproof rating, these wall lights are built to withstand heavy downpours, snow, and extreme sun exposure without shell degradation. Whether installing into vinyl siding, exterior drywall, concrete, or brick walls, maintaining structural mounting stability at the proper height ensures long-term performance without seasonal readjustments.
Related DIY Installation Resources
- Solar Porch Wall Light FAQ: Battery, Lifespan, and Performance
- Black Solar Barn Light Strategies for Modern Garages
- Selecting Black Solar Barn Lights for Garage Facades
Frequently Asked Questions
Get answers to common mounting height, shadow clearance, and mode selection questions.
Final Summary & Next Steps
Your decision: Choose 7.0-7.5 ft for garage driveways and 6.0-6.5 ft for porch doorways, ensuring 6+ inches of clearance beneath roof eaves.
Do this next: Order your 4-pack solar wall lights set and complete installation in under 30 minutes using standard mounting hardware.
- Read next: Solar Outdoor Wall Lights Store
High-Efficiency 4 Pack Solar Outdoor Wall Lights with Dusk-to-Dawn PIR Motion Sensor.
Ready to transform your home's exterior security and curb appeal with reliable solar illumination?
Cover photo by takenbytablo on Pexels.